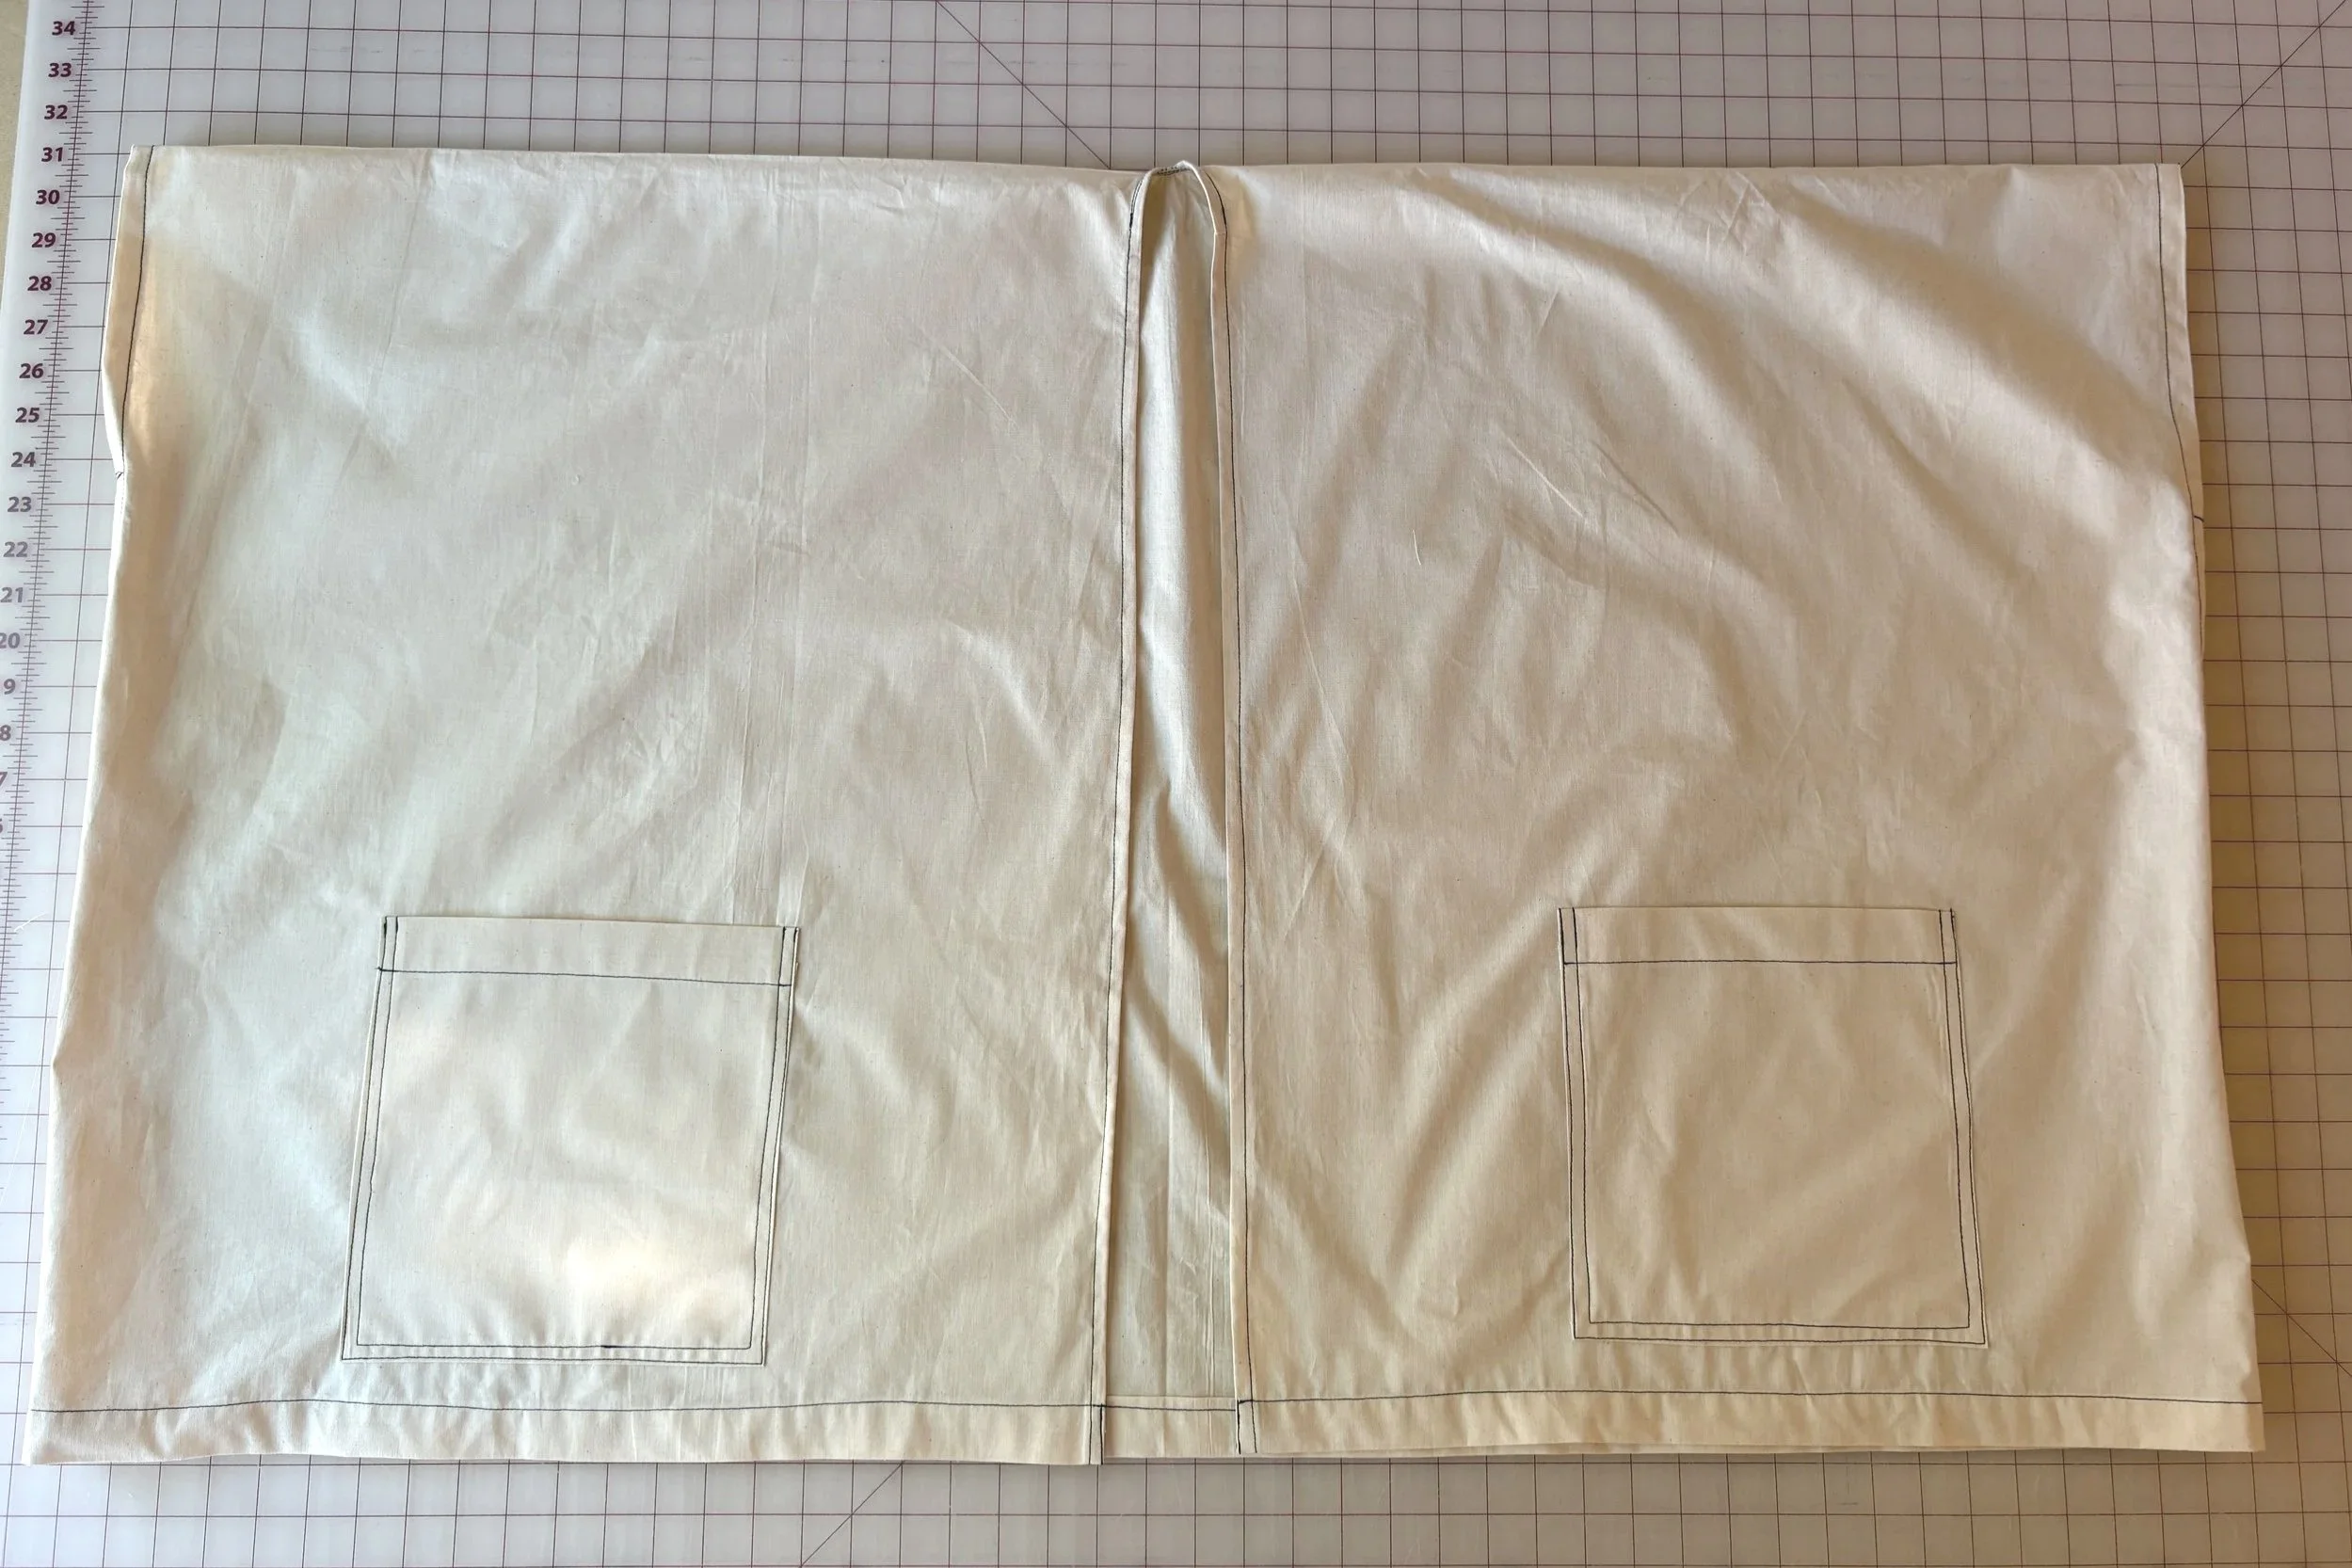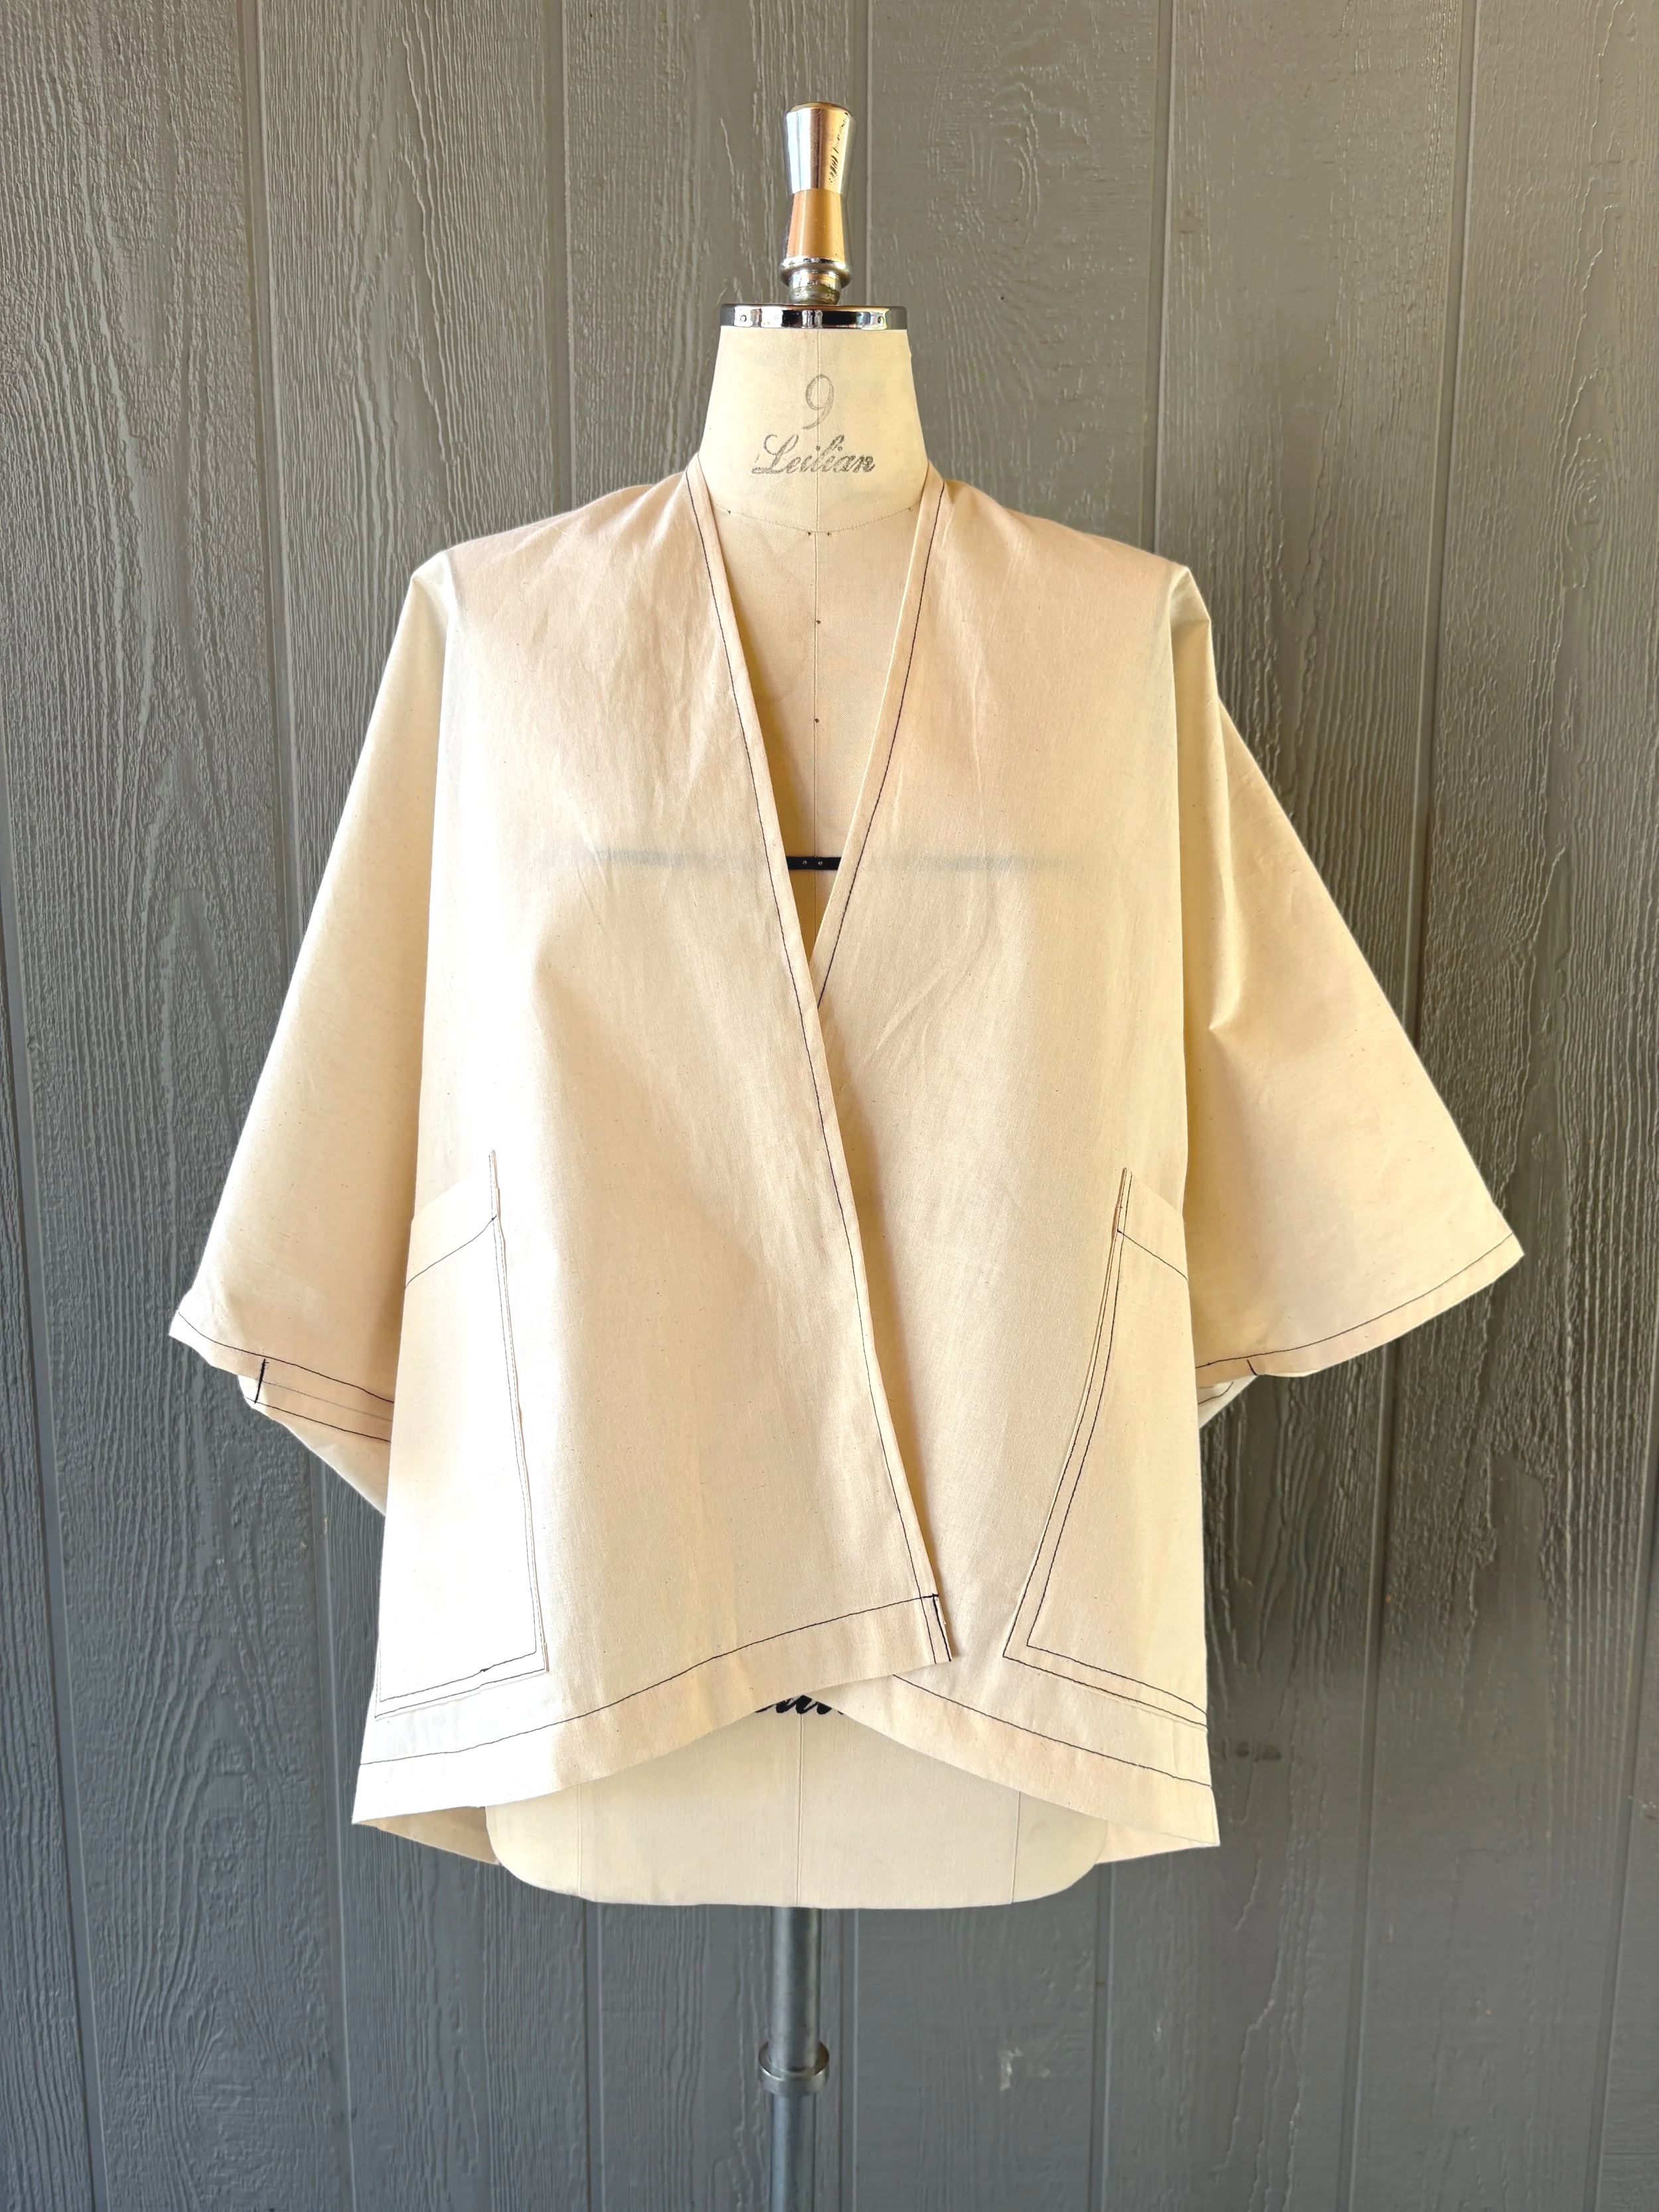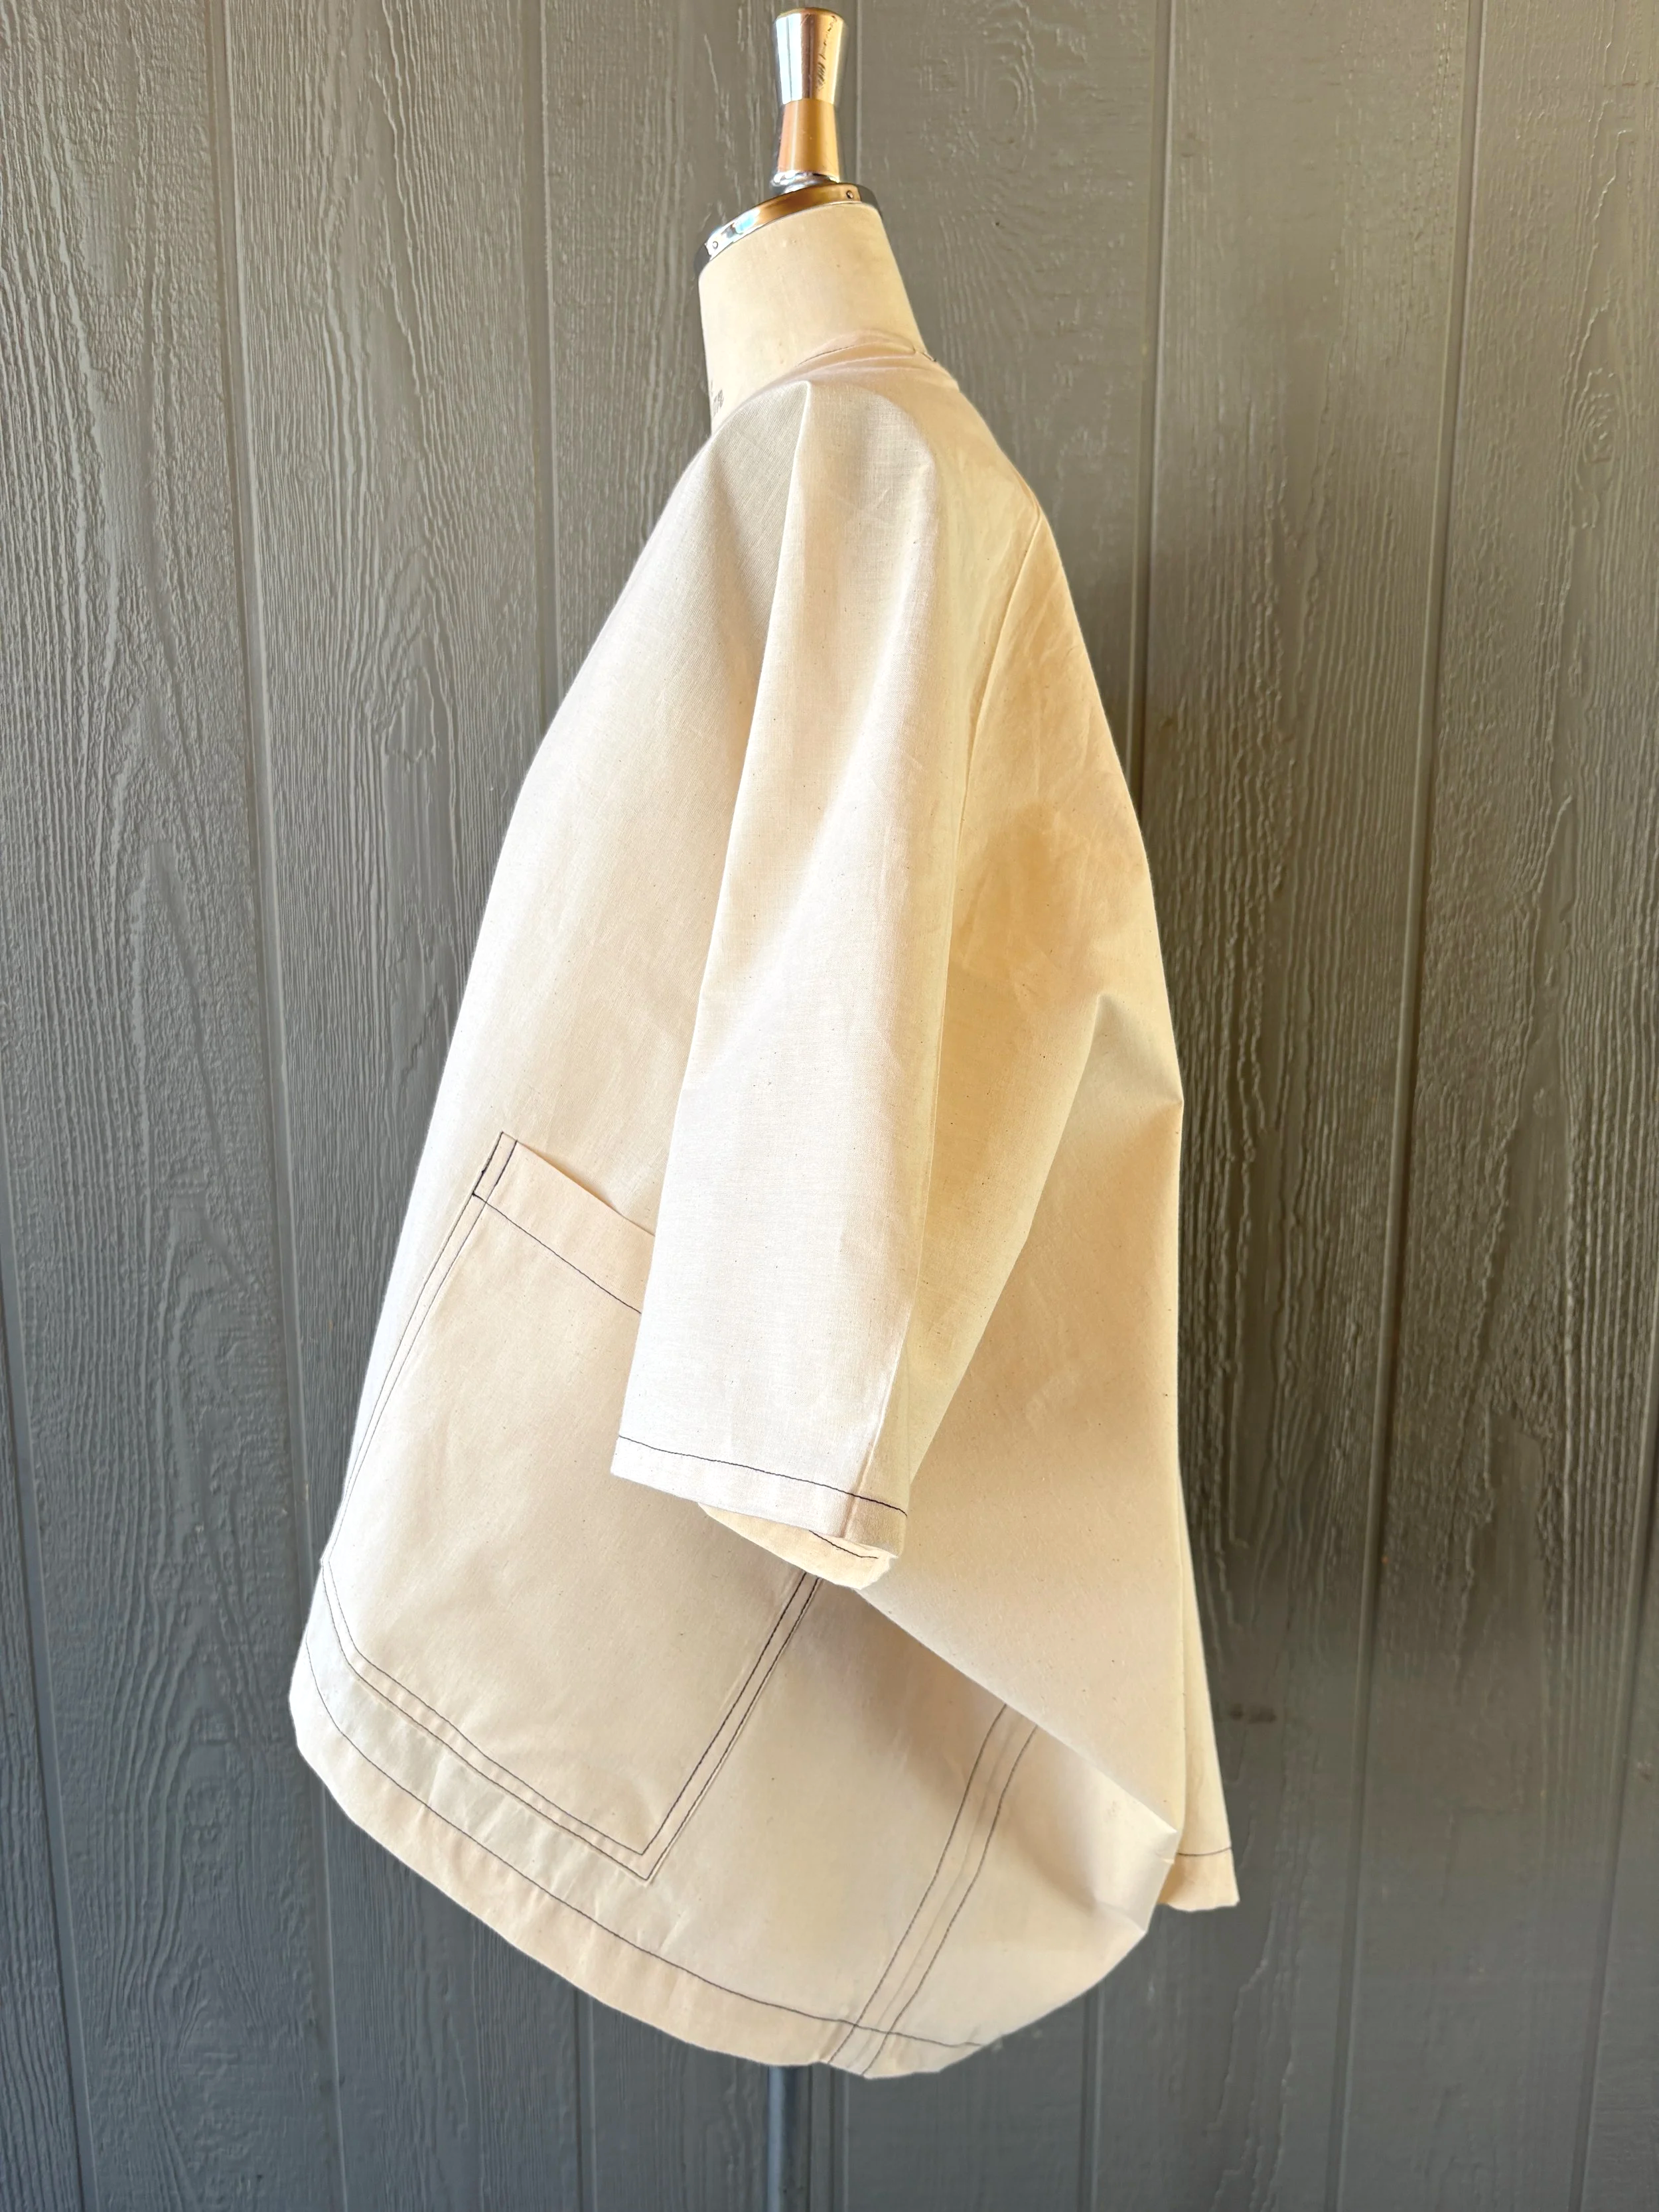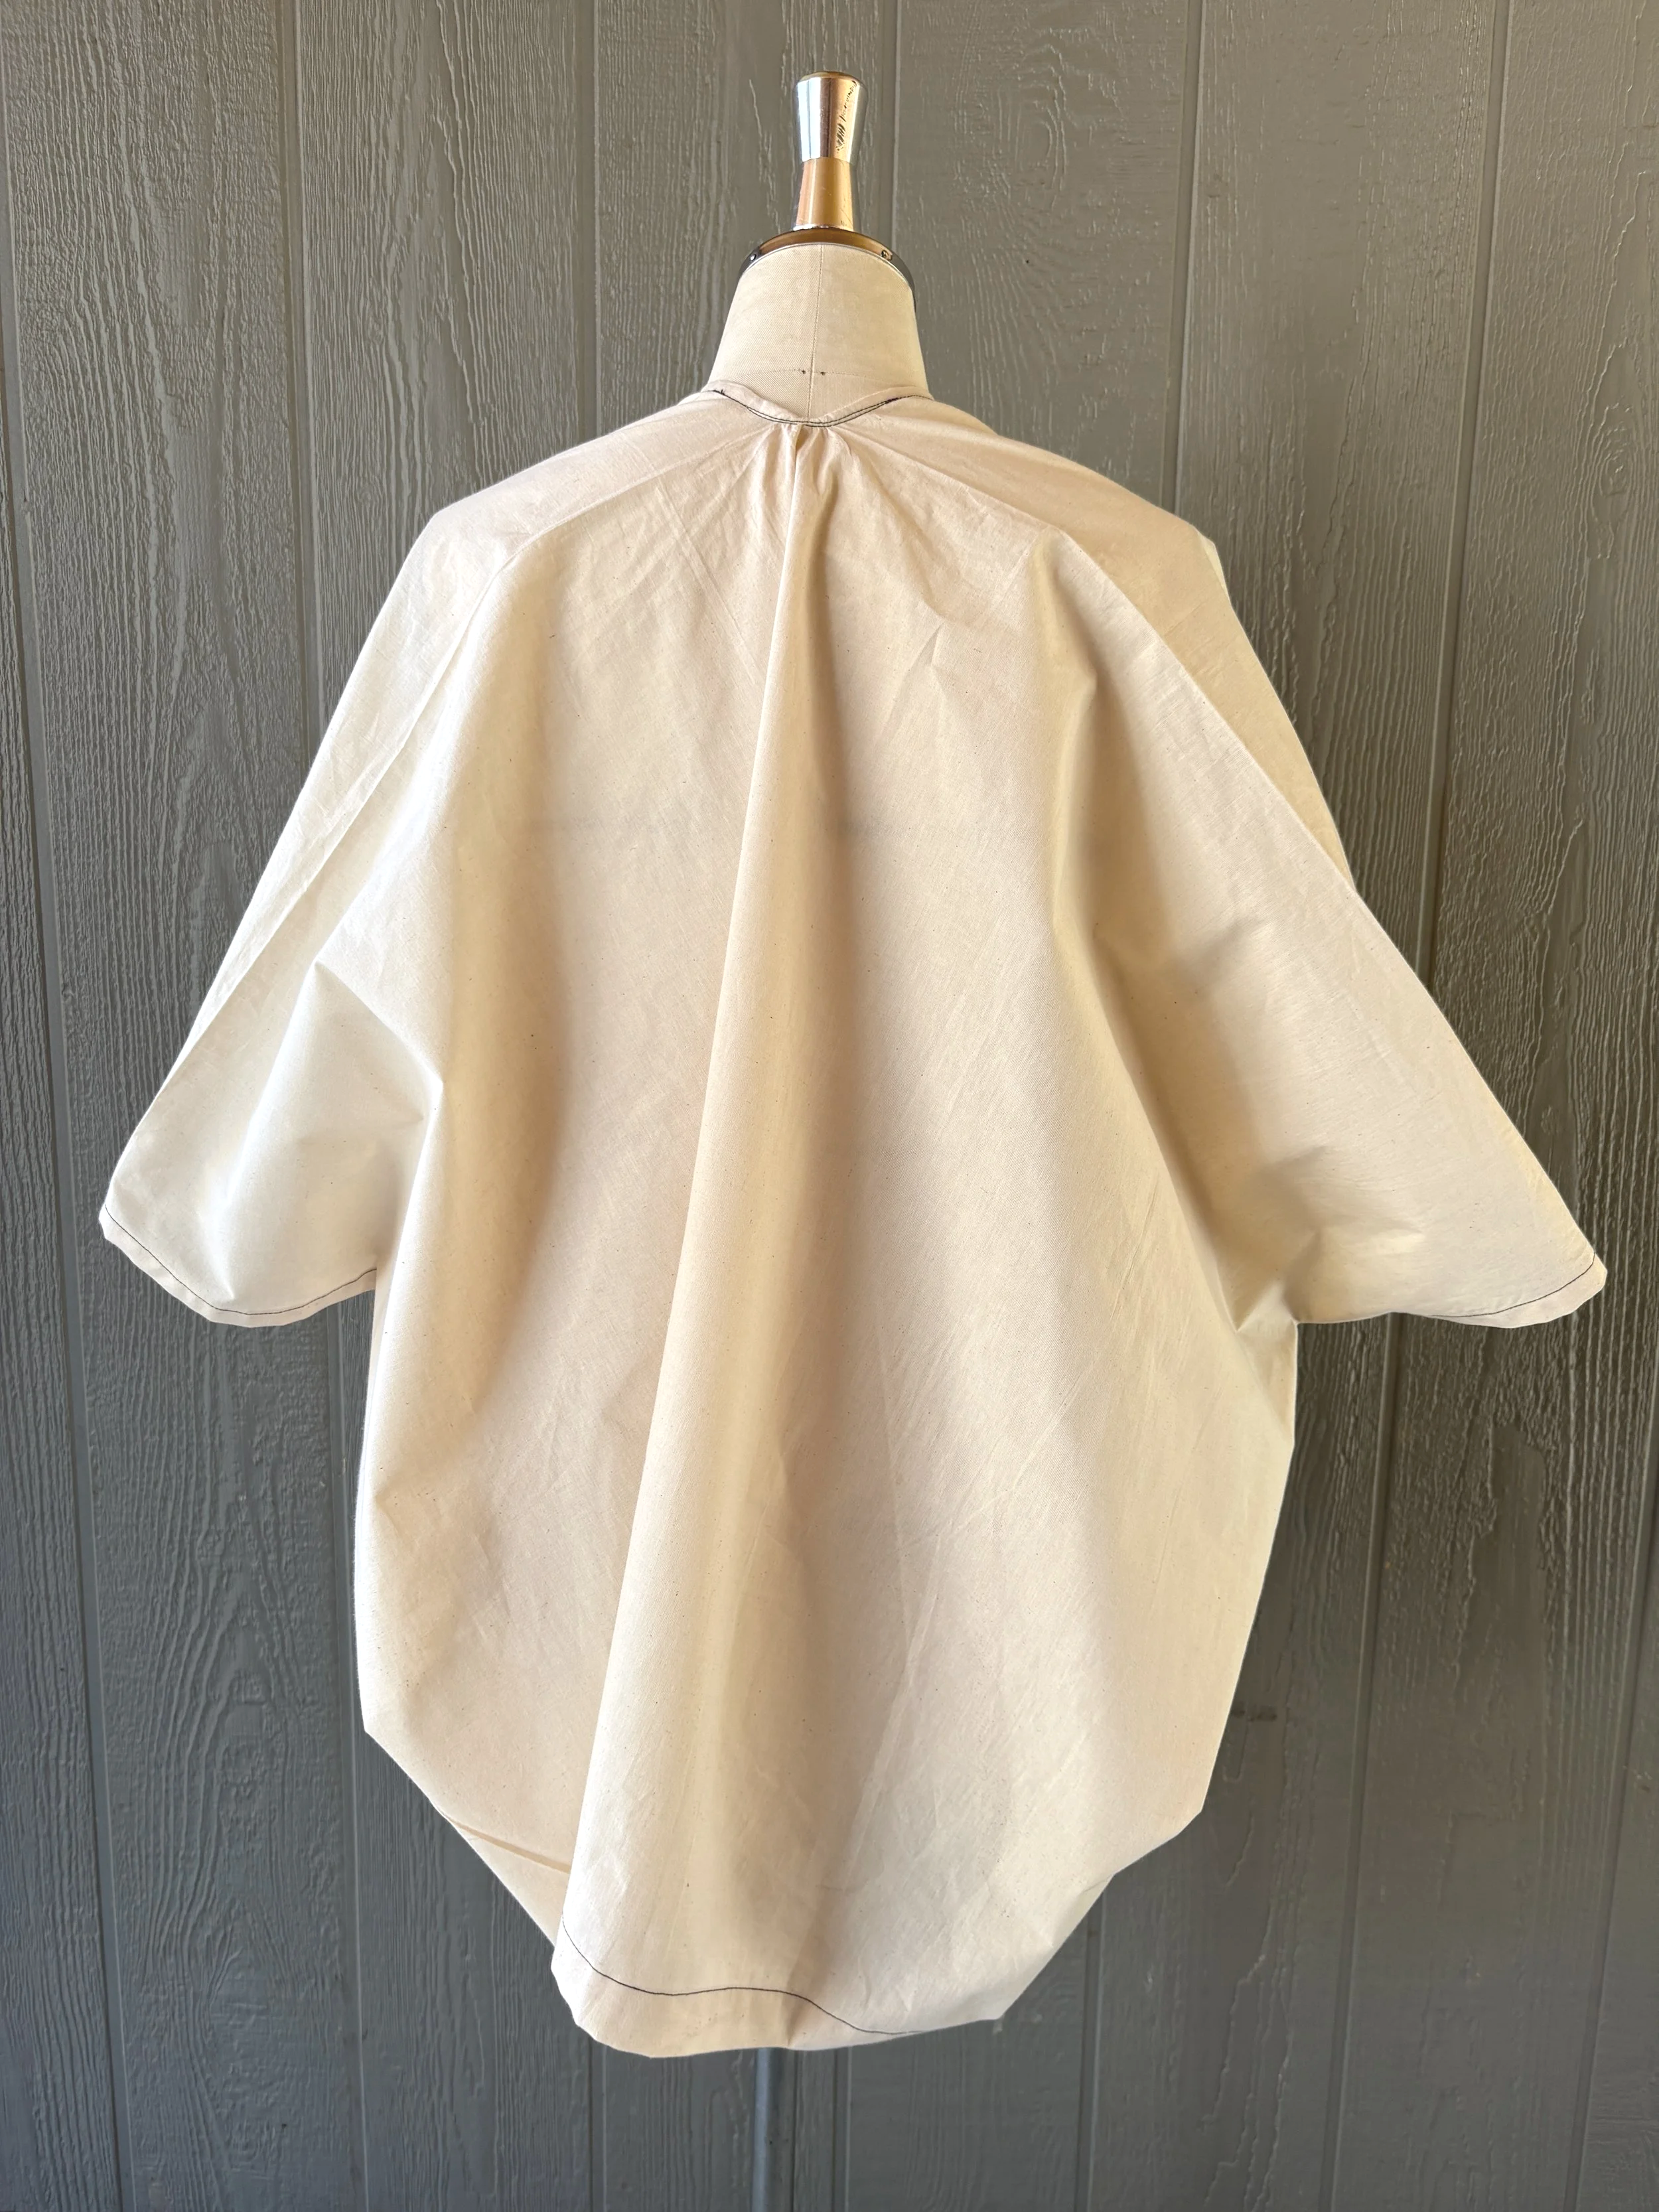
Kimono Cover-up

This instructional sewing guide is for my free downloadable “pattern” or cutting dimensions and instructions, which can be obtained by entering your email in the link above. You have the option to make the long or short version (or both).
This is the fabric I used for the long version pictured above - Indigo Moon Indian Block Print Organic Cotton - a medium weight cotton. A structural cotton in the short version would be very architectural, like the muslin sample I made in this tutorial post (pictured at the end). This style is versatile — a floaty single layered cotton gauze looks lovely as a swimsuit cover-up — pictured below in the short version without pockets. Linen would also work well.
You can use this step-by-step tutorial to cut, sew, and assemble. I hope you like this simple method as much as I do.
Have your sewing machine threaded and iron heated and ready to use. This sewing tutorial shows the short version.
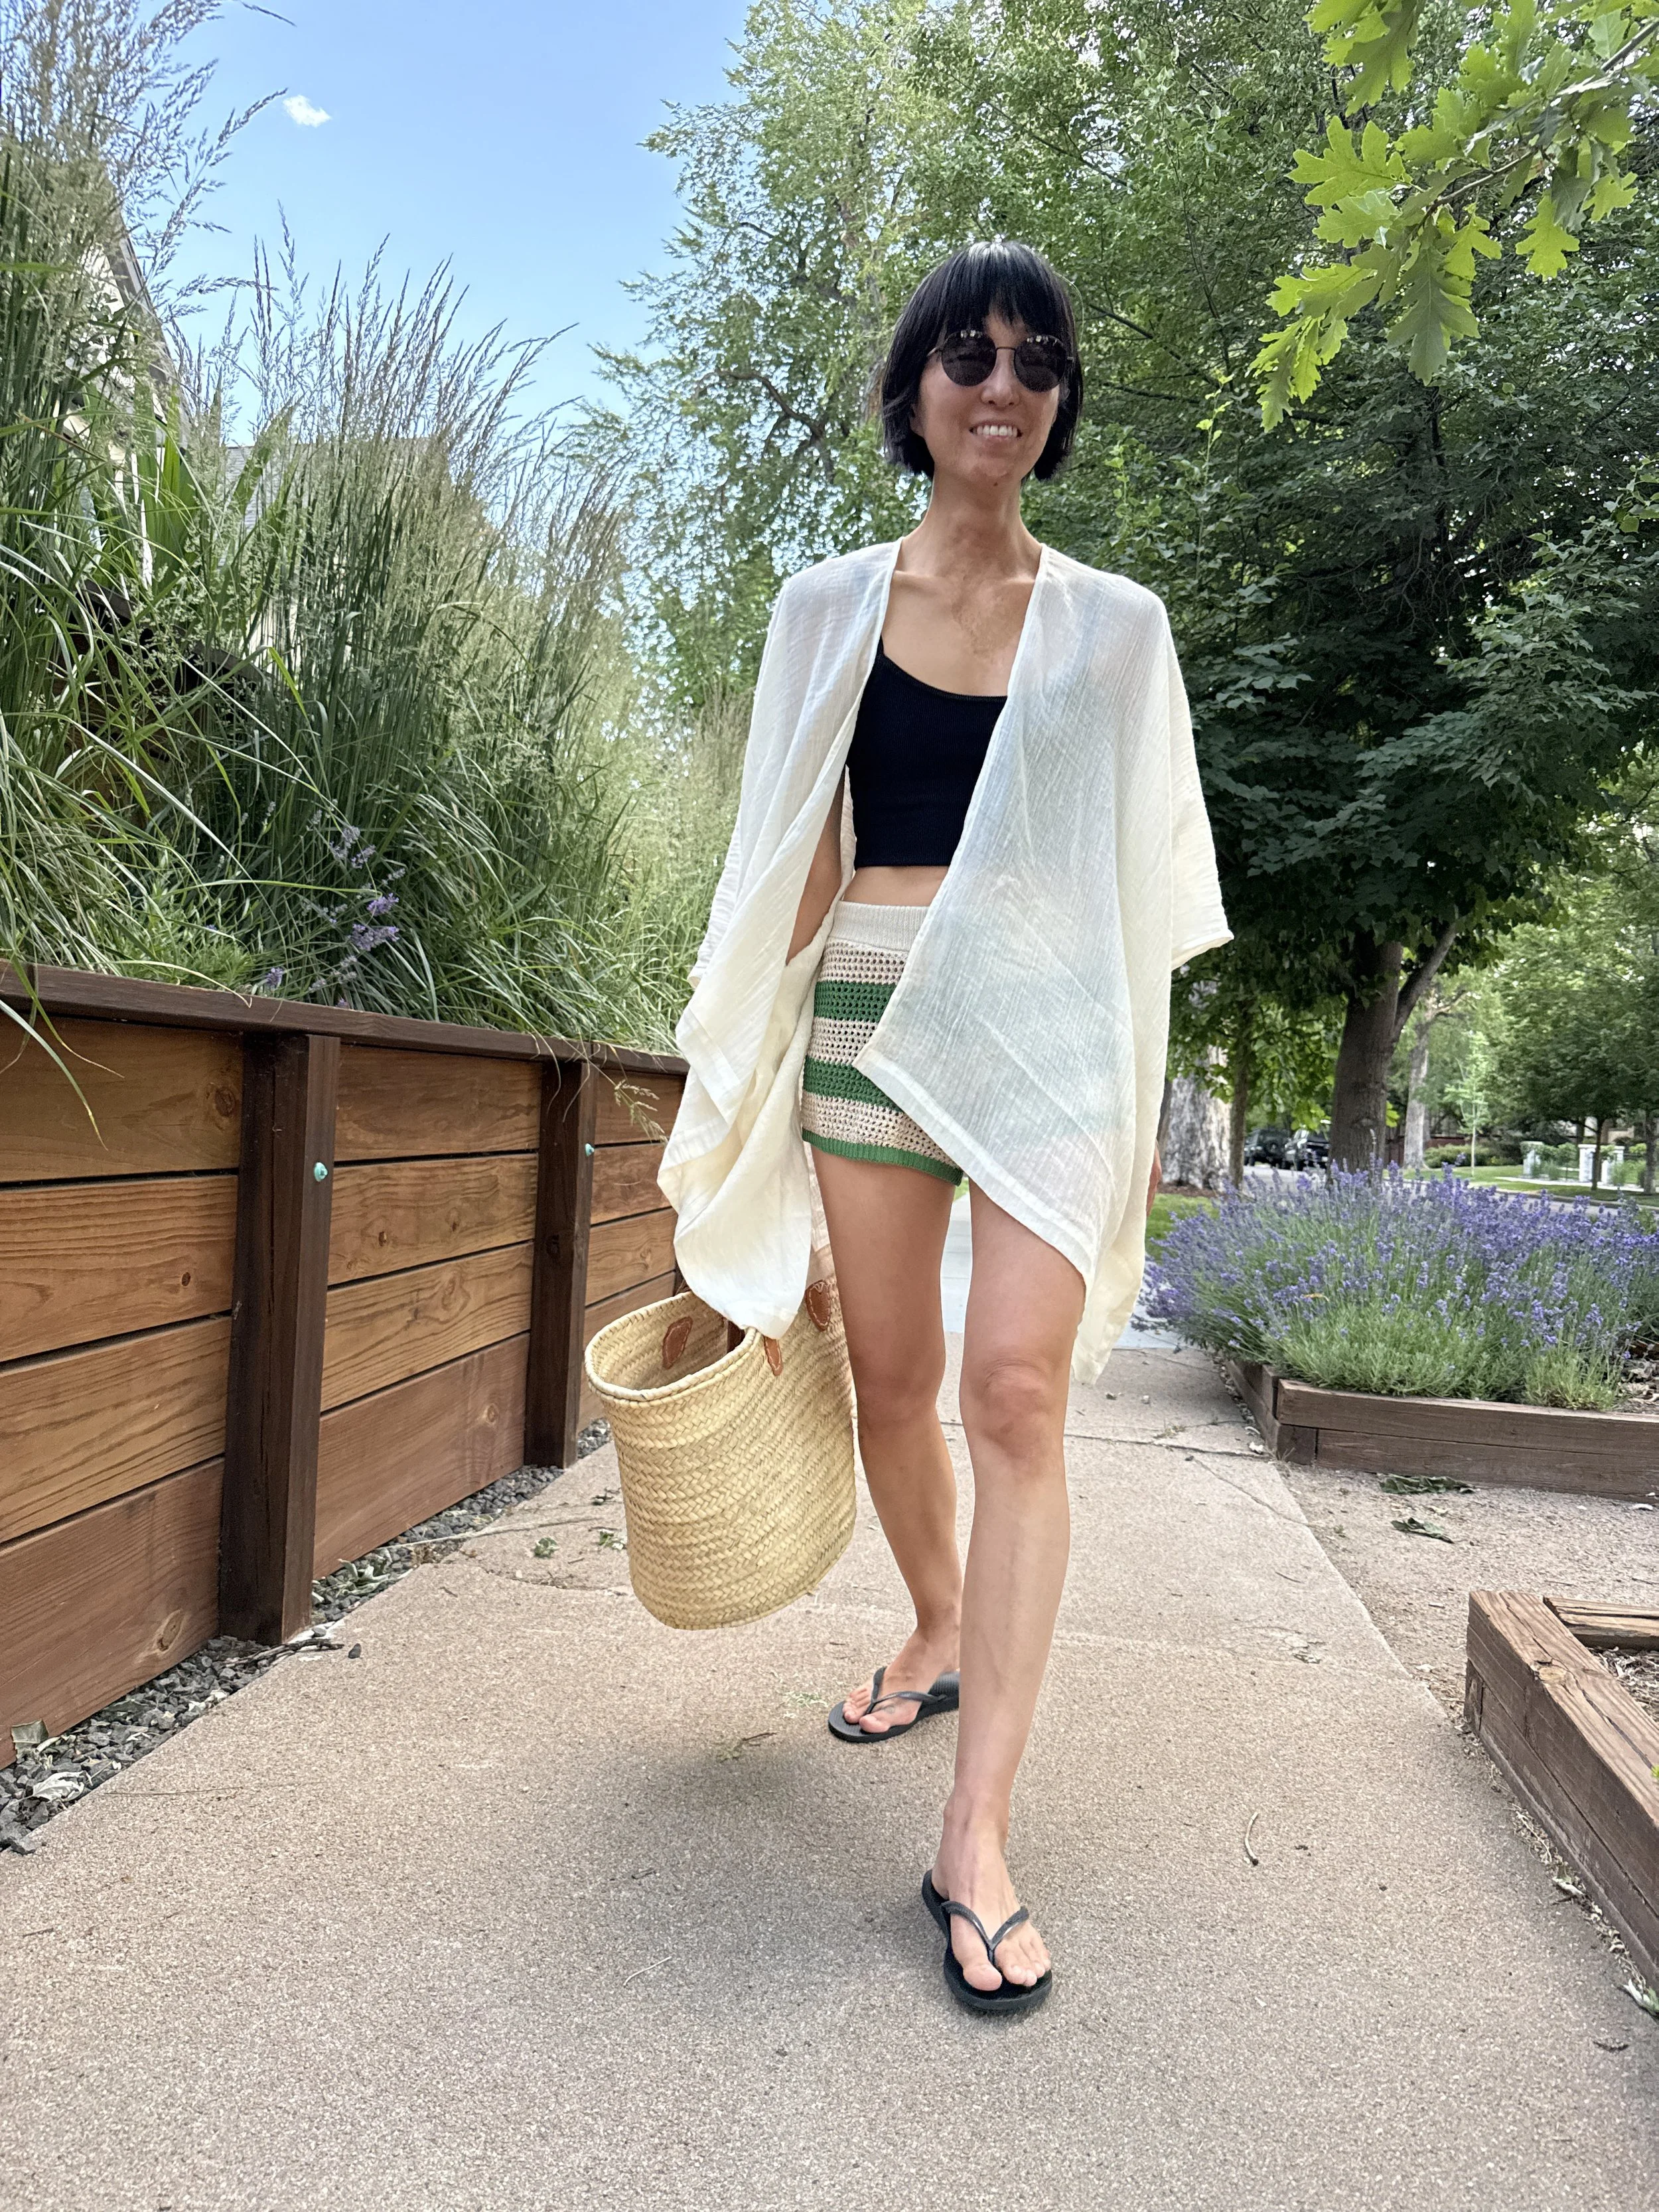
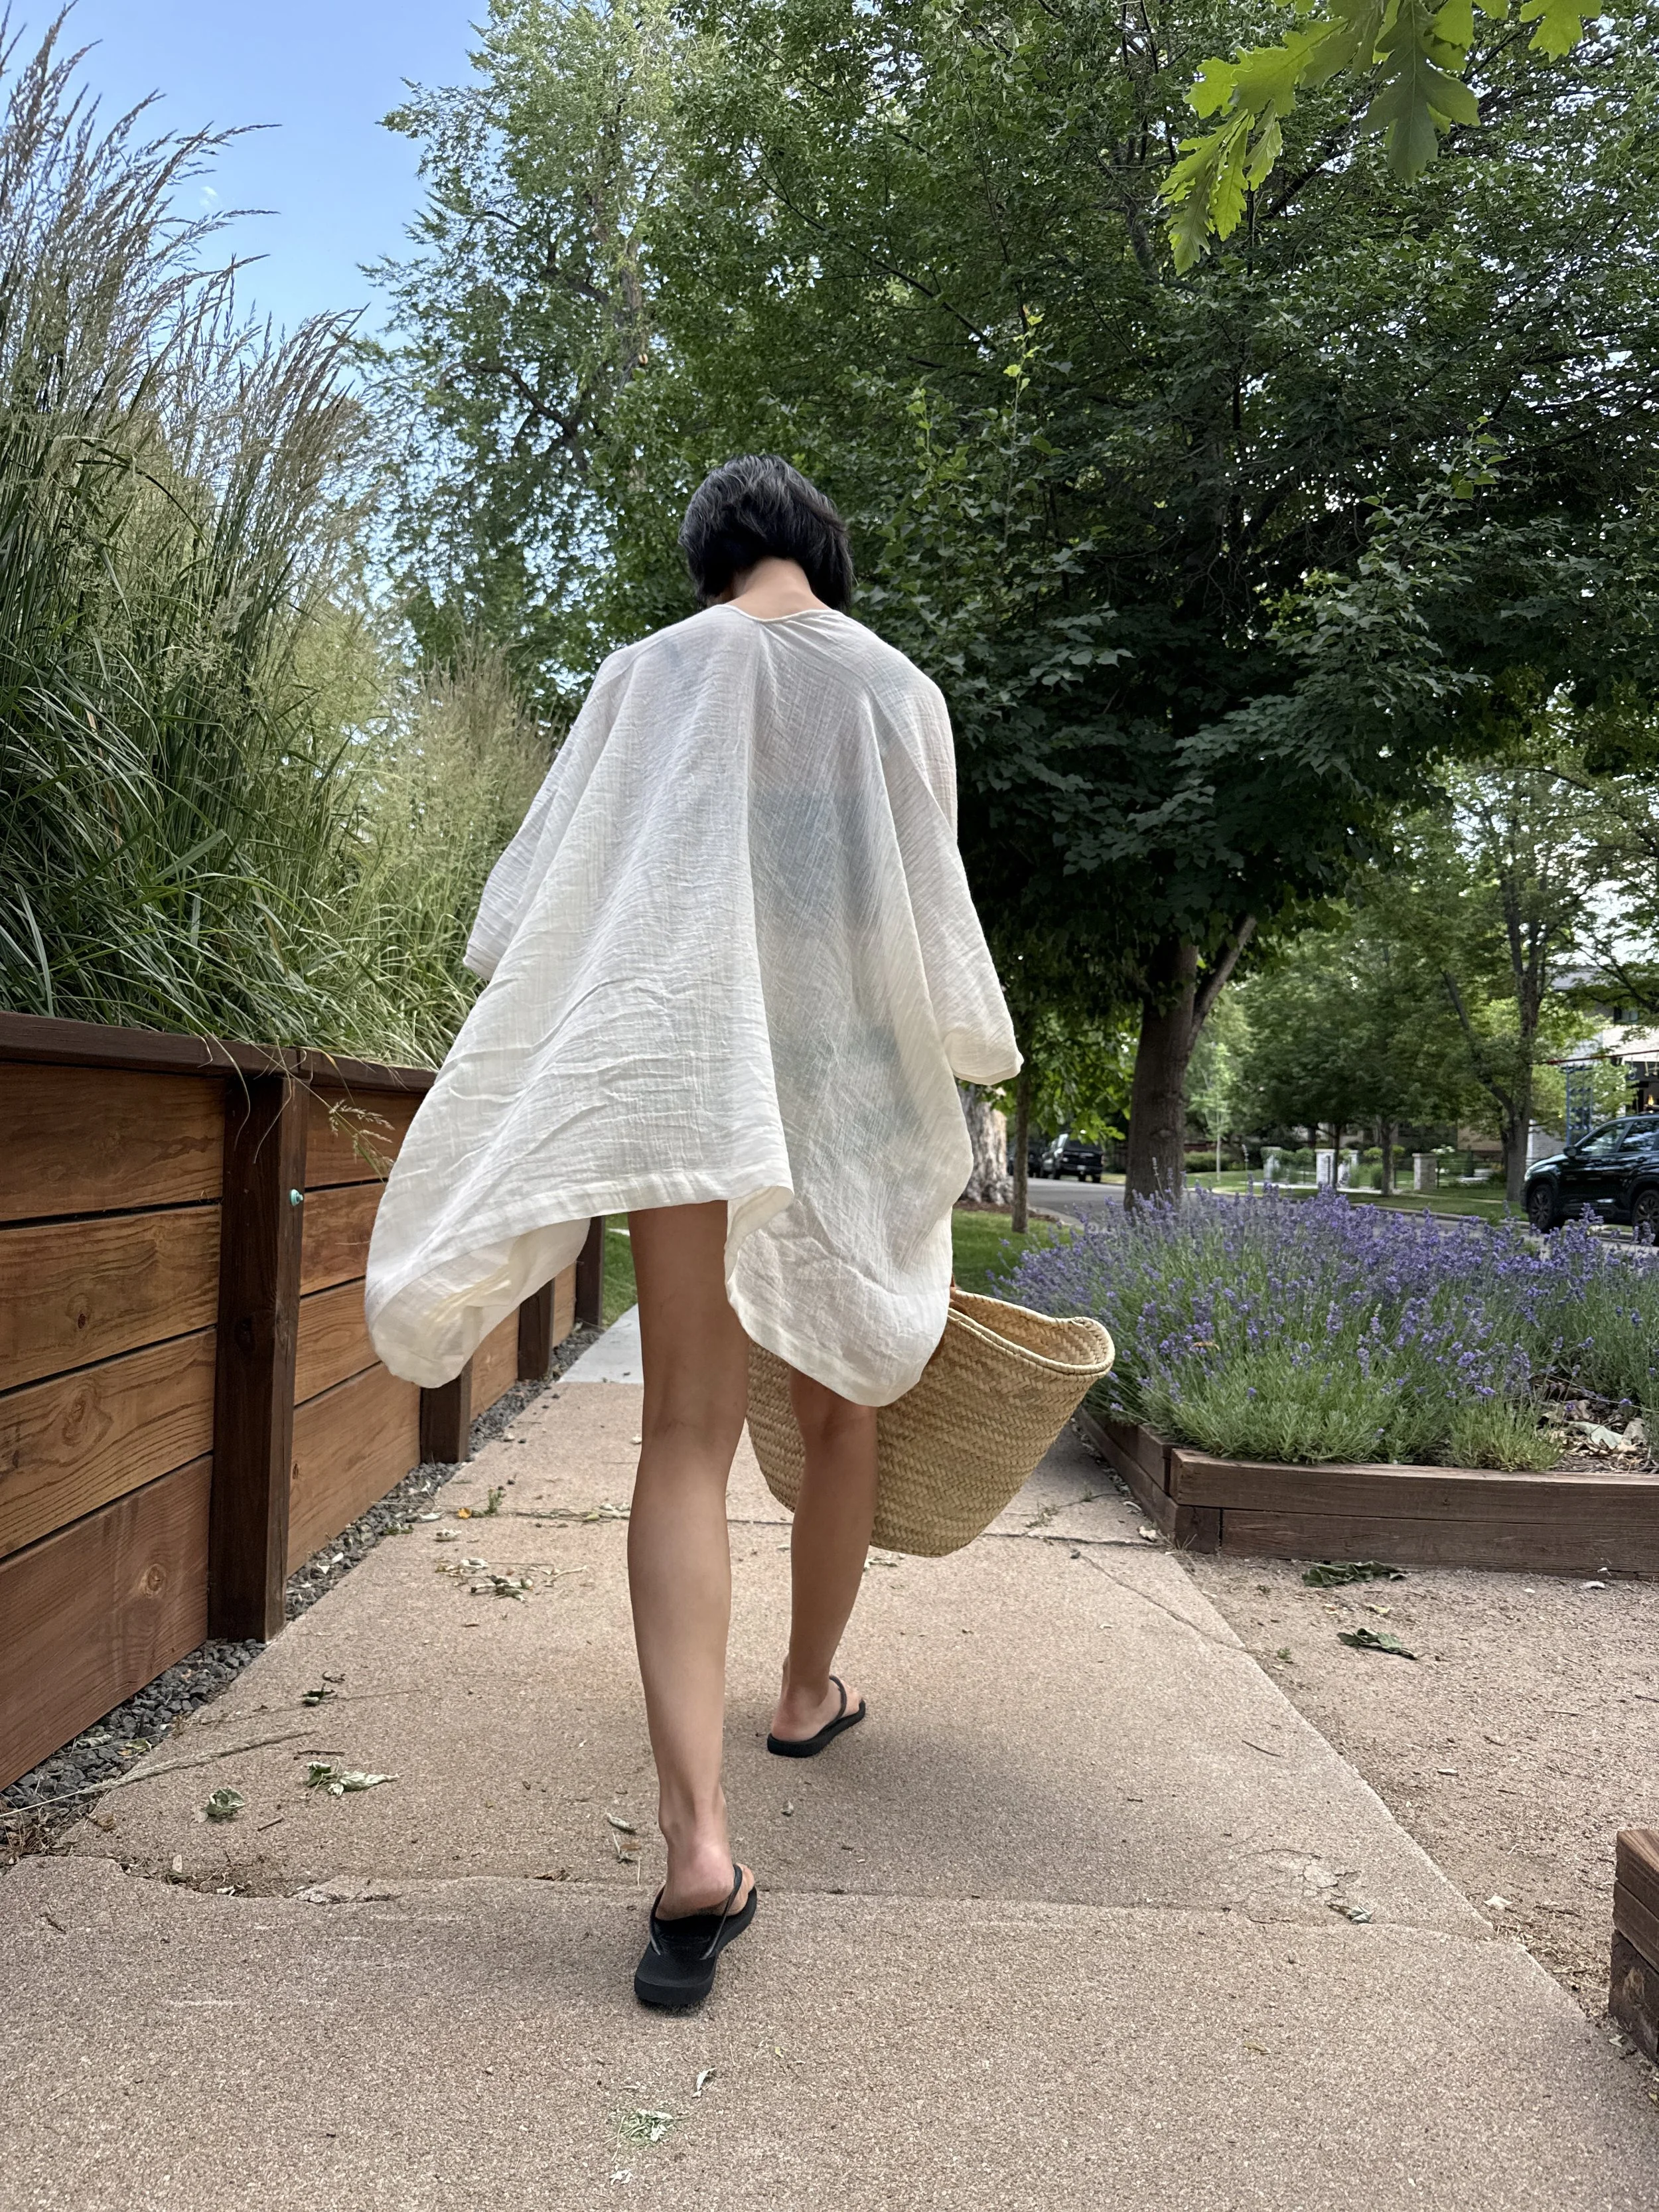
A few notes before you beginning: For ease of explanation, I’ll be referring to the garment as a “wrap” throughout the instructions. The seam allowances vary, and will be noted at the relevant step. The stitch length used throughout the project is 2.5.
1. Cut all the pieces, using the dimensions on PDF.
Cut the wrap rectangle first, then the 2 pockets, and finally, the bias. How to cut the bias strip is below.
2. Cutting the bias strip, step by step.
Find or cut a 90° corner on a leftover scrap — where two straight edges meet (selvedge and a crosswise cut edge).
From that corner, fold one edge in by 4" (10.2 cm) and crease.
Fold the adjacent corner over to align with that crease. The resulting diagonal fold is your true bias — 45° to the grain — and gives you a strip just over 5" (12.7 cm), enough for this project.
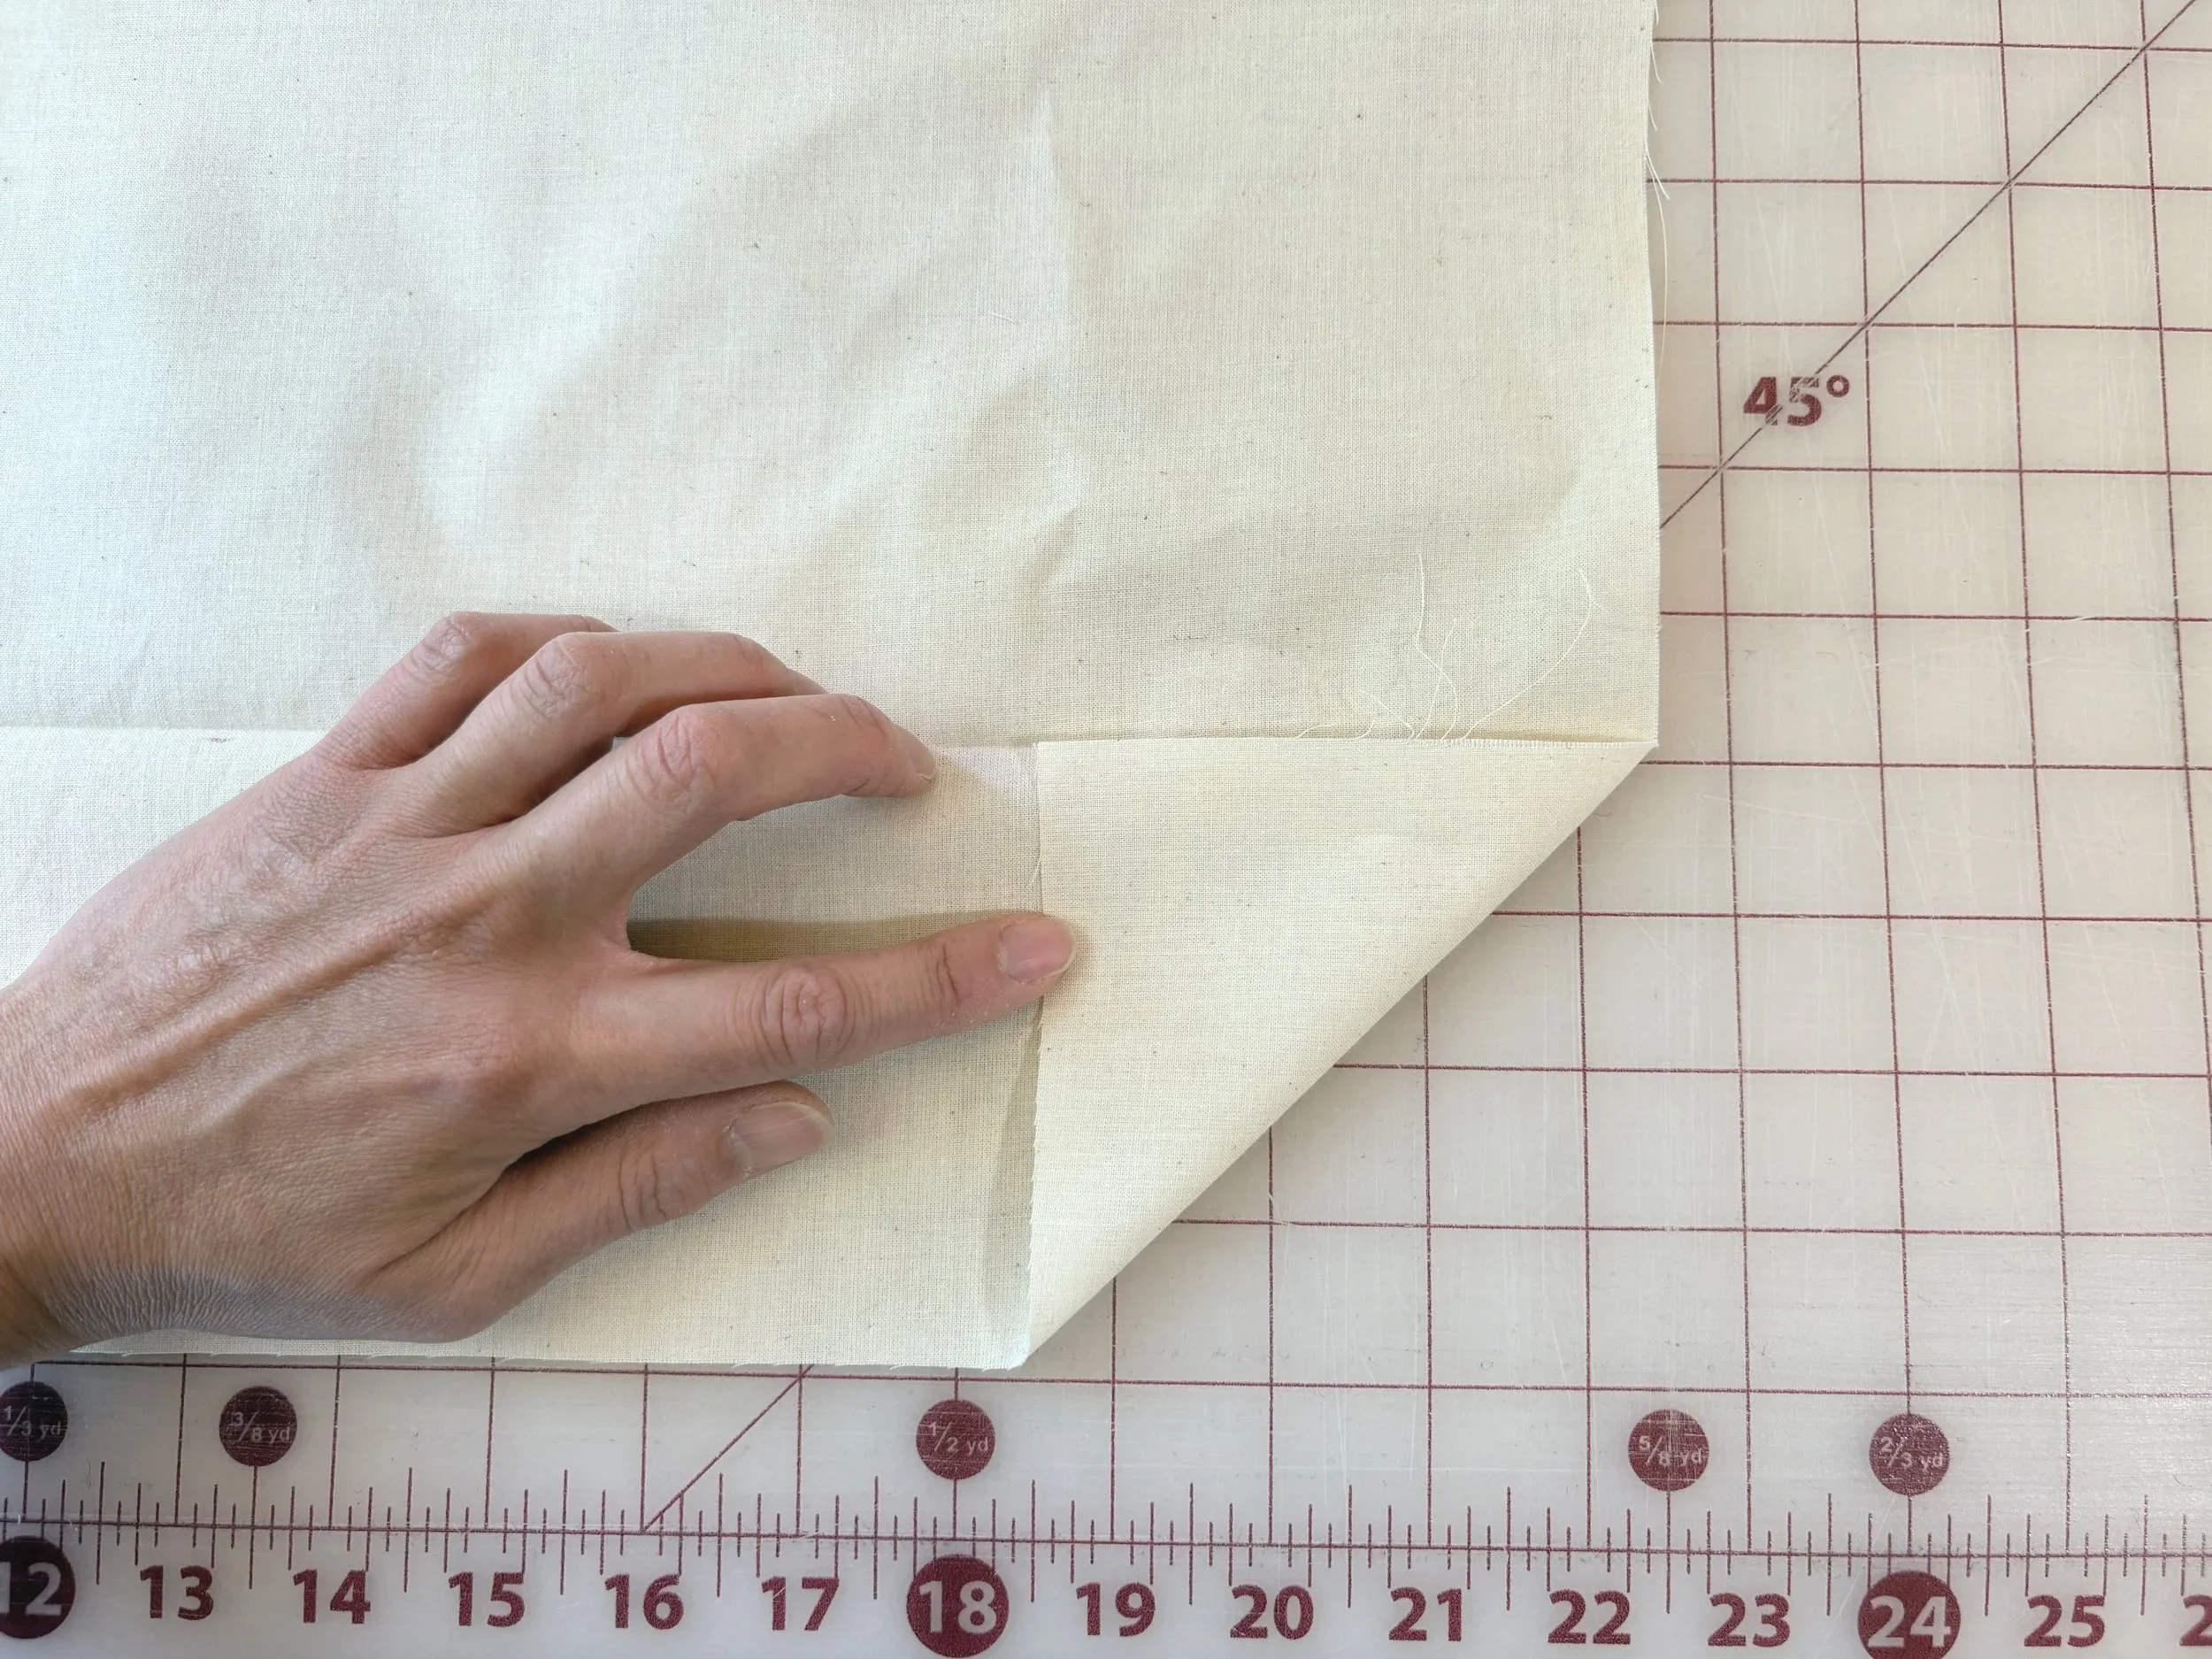
Using a straight edge — a quilting ruler or a regular ruler — measure and mark a 1" (2.5 cm) line parallel to the diagonal fold.
Cut along the marked line with a rotary cutter, or draw the line first and cut with scissors.
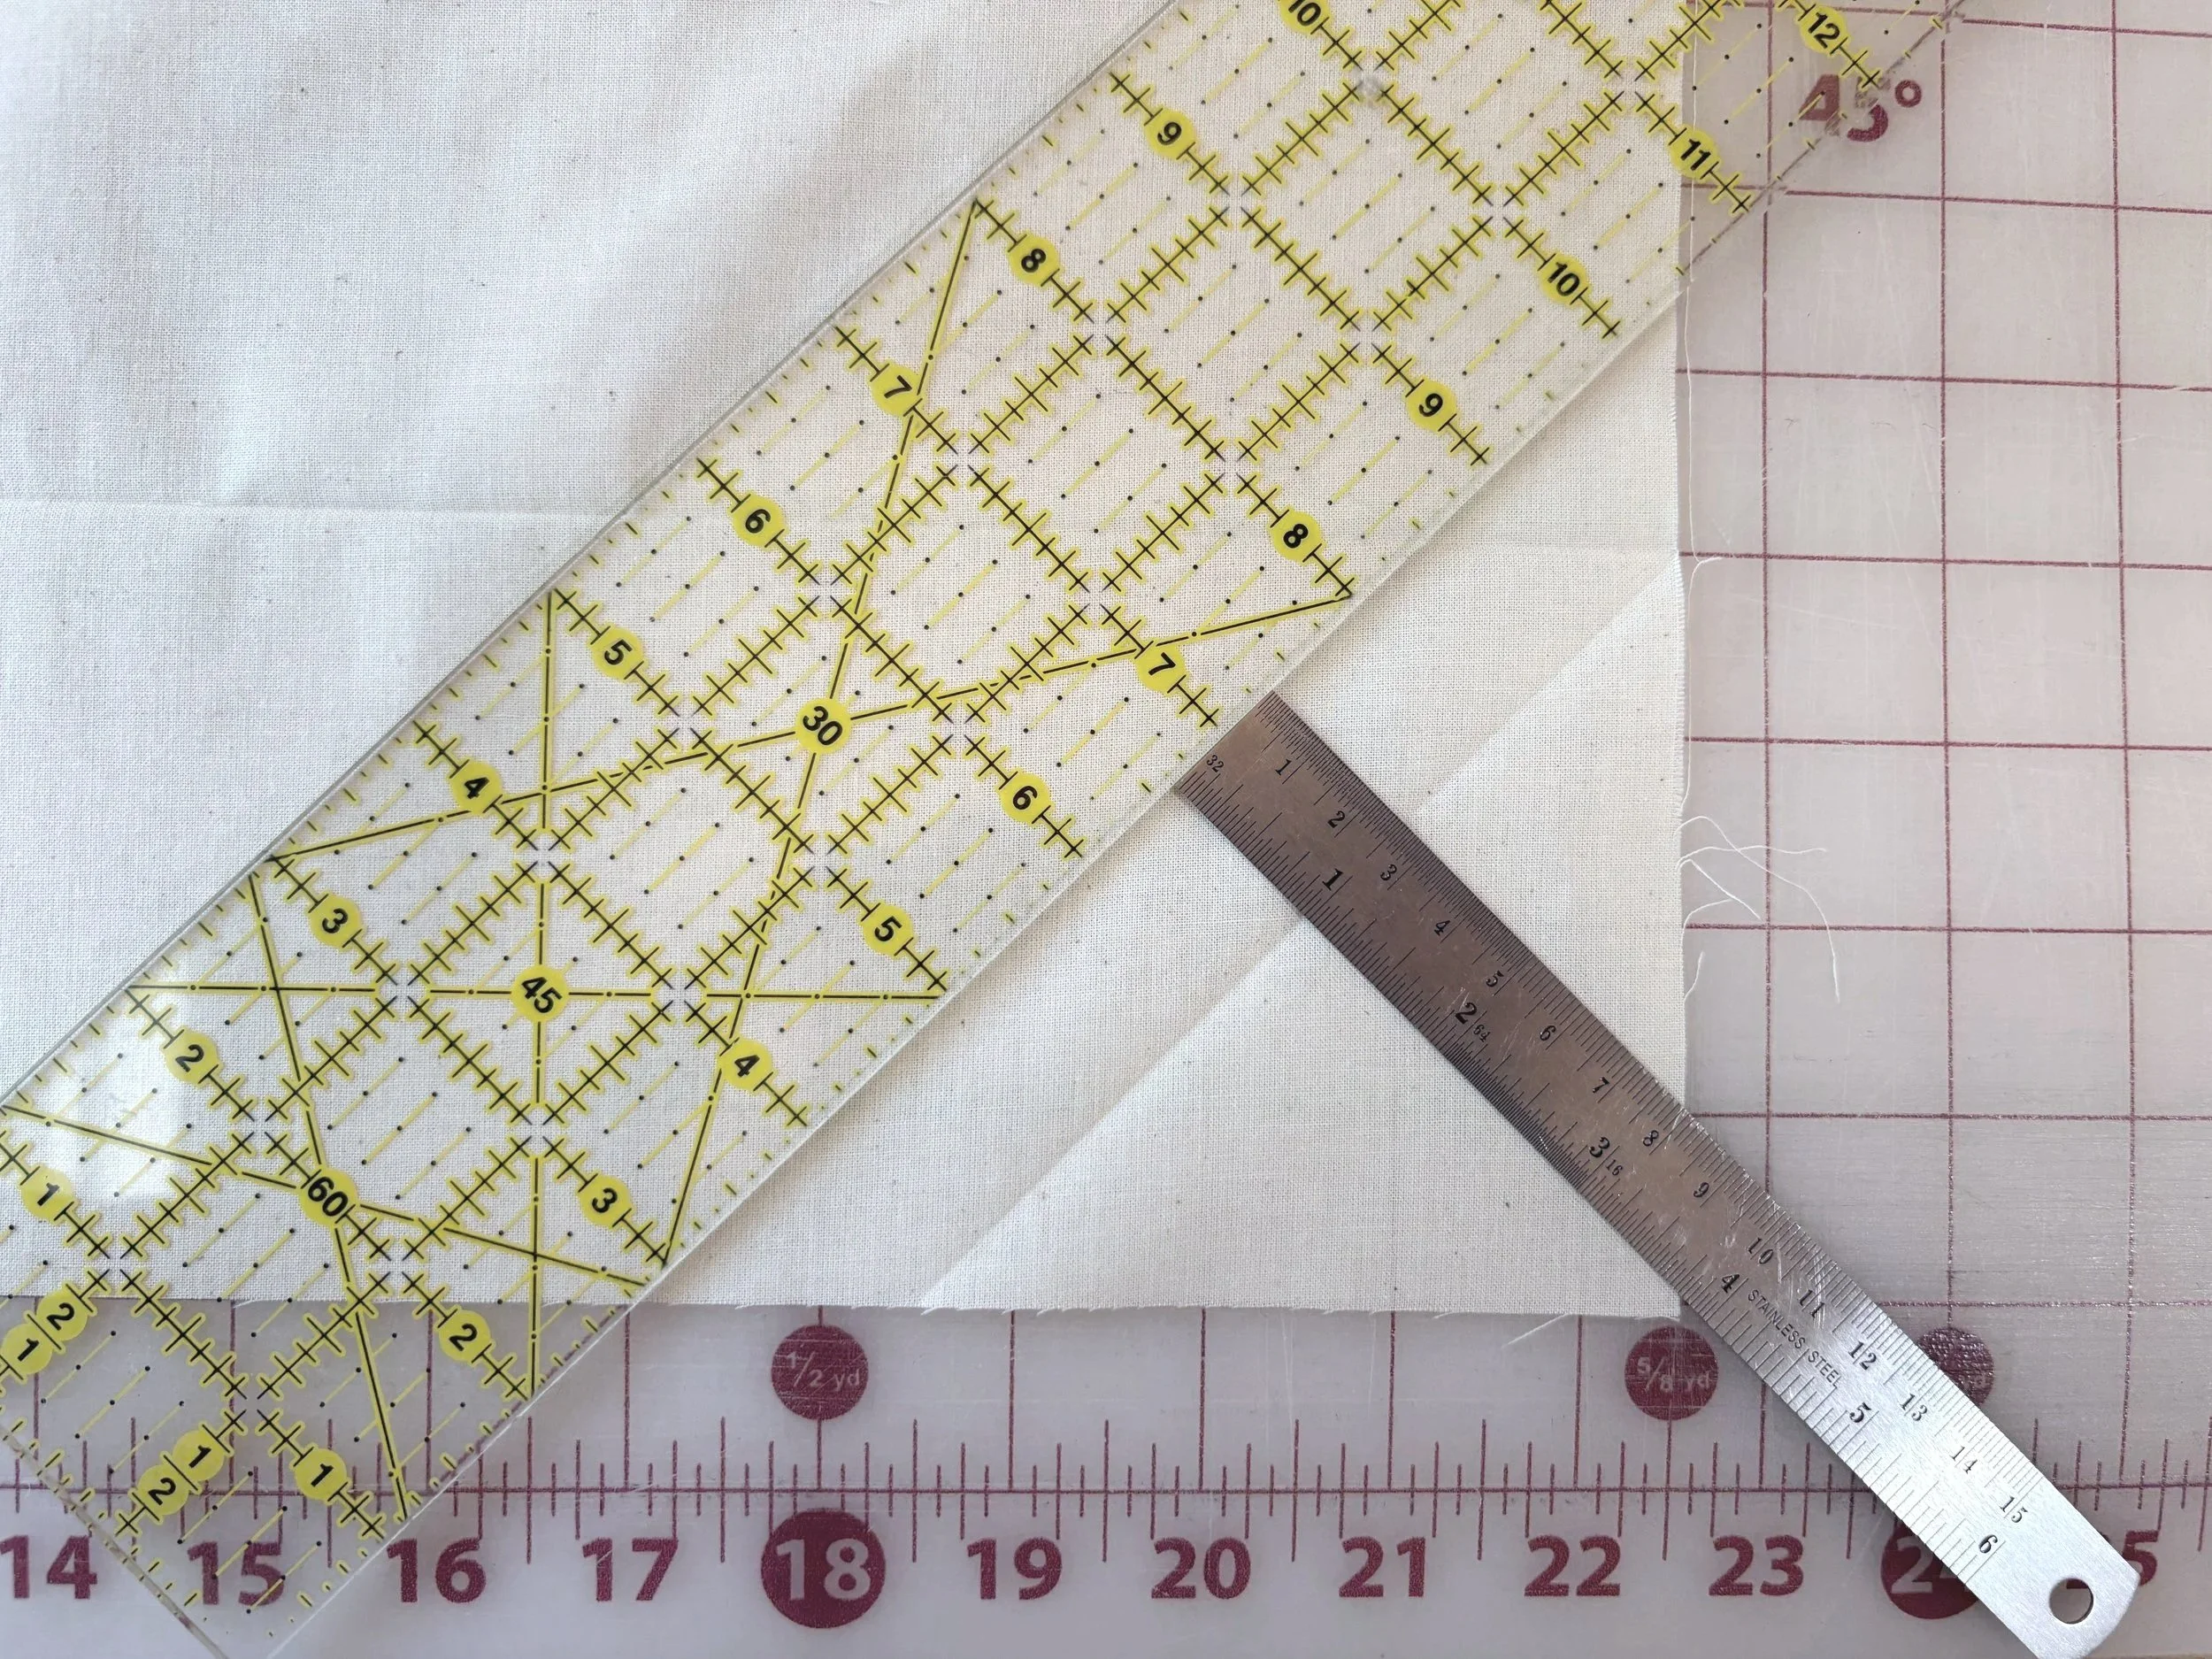
Cut along the creased diagonal line and separate the bias strip from the scrap fabric.
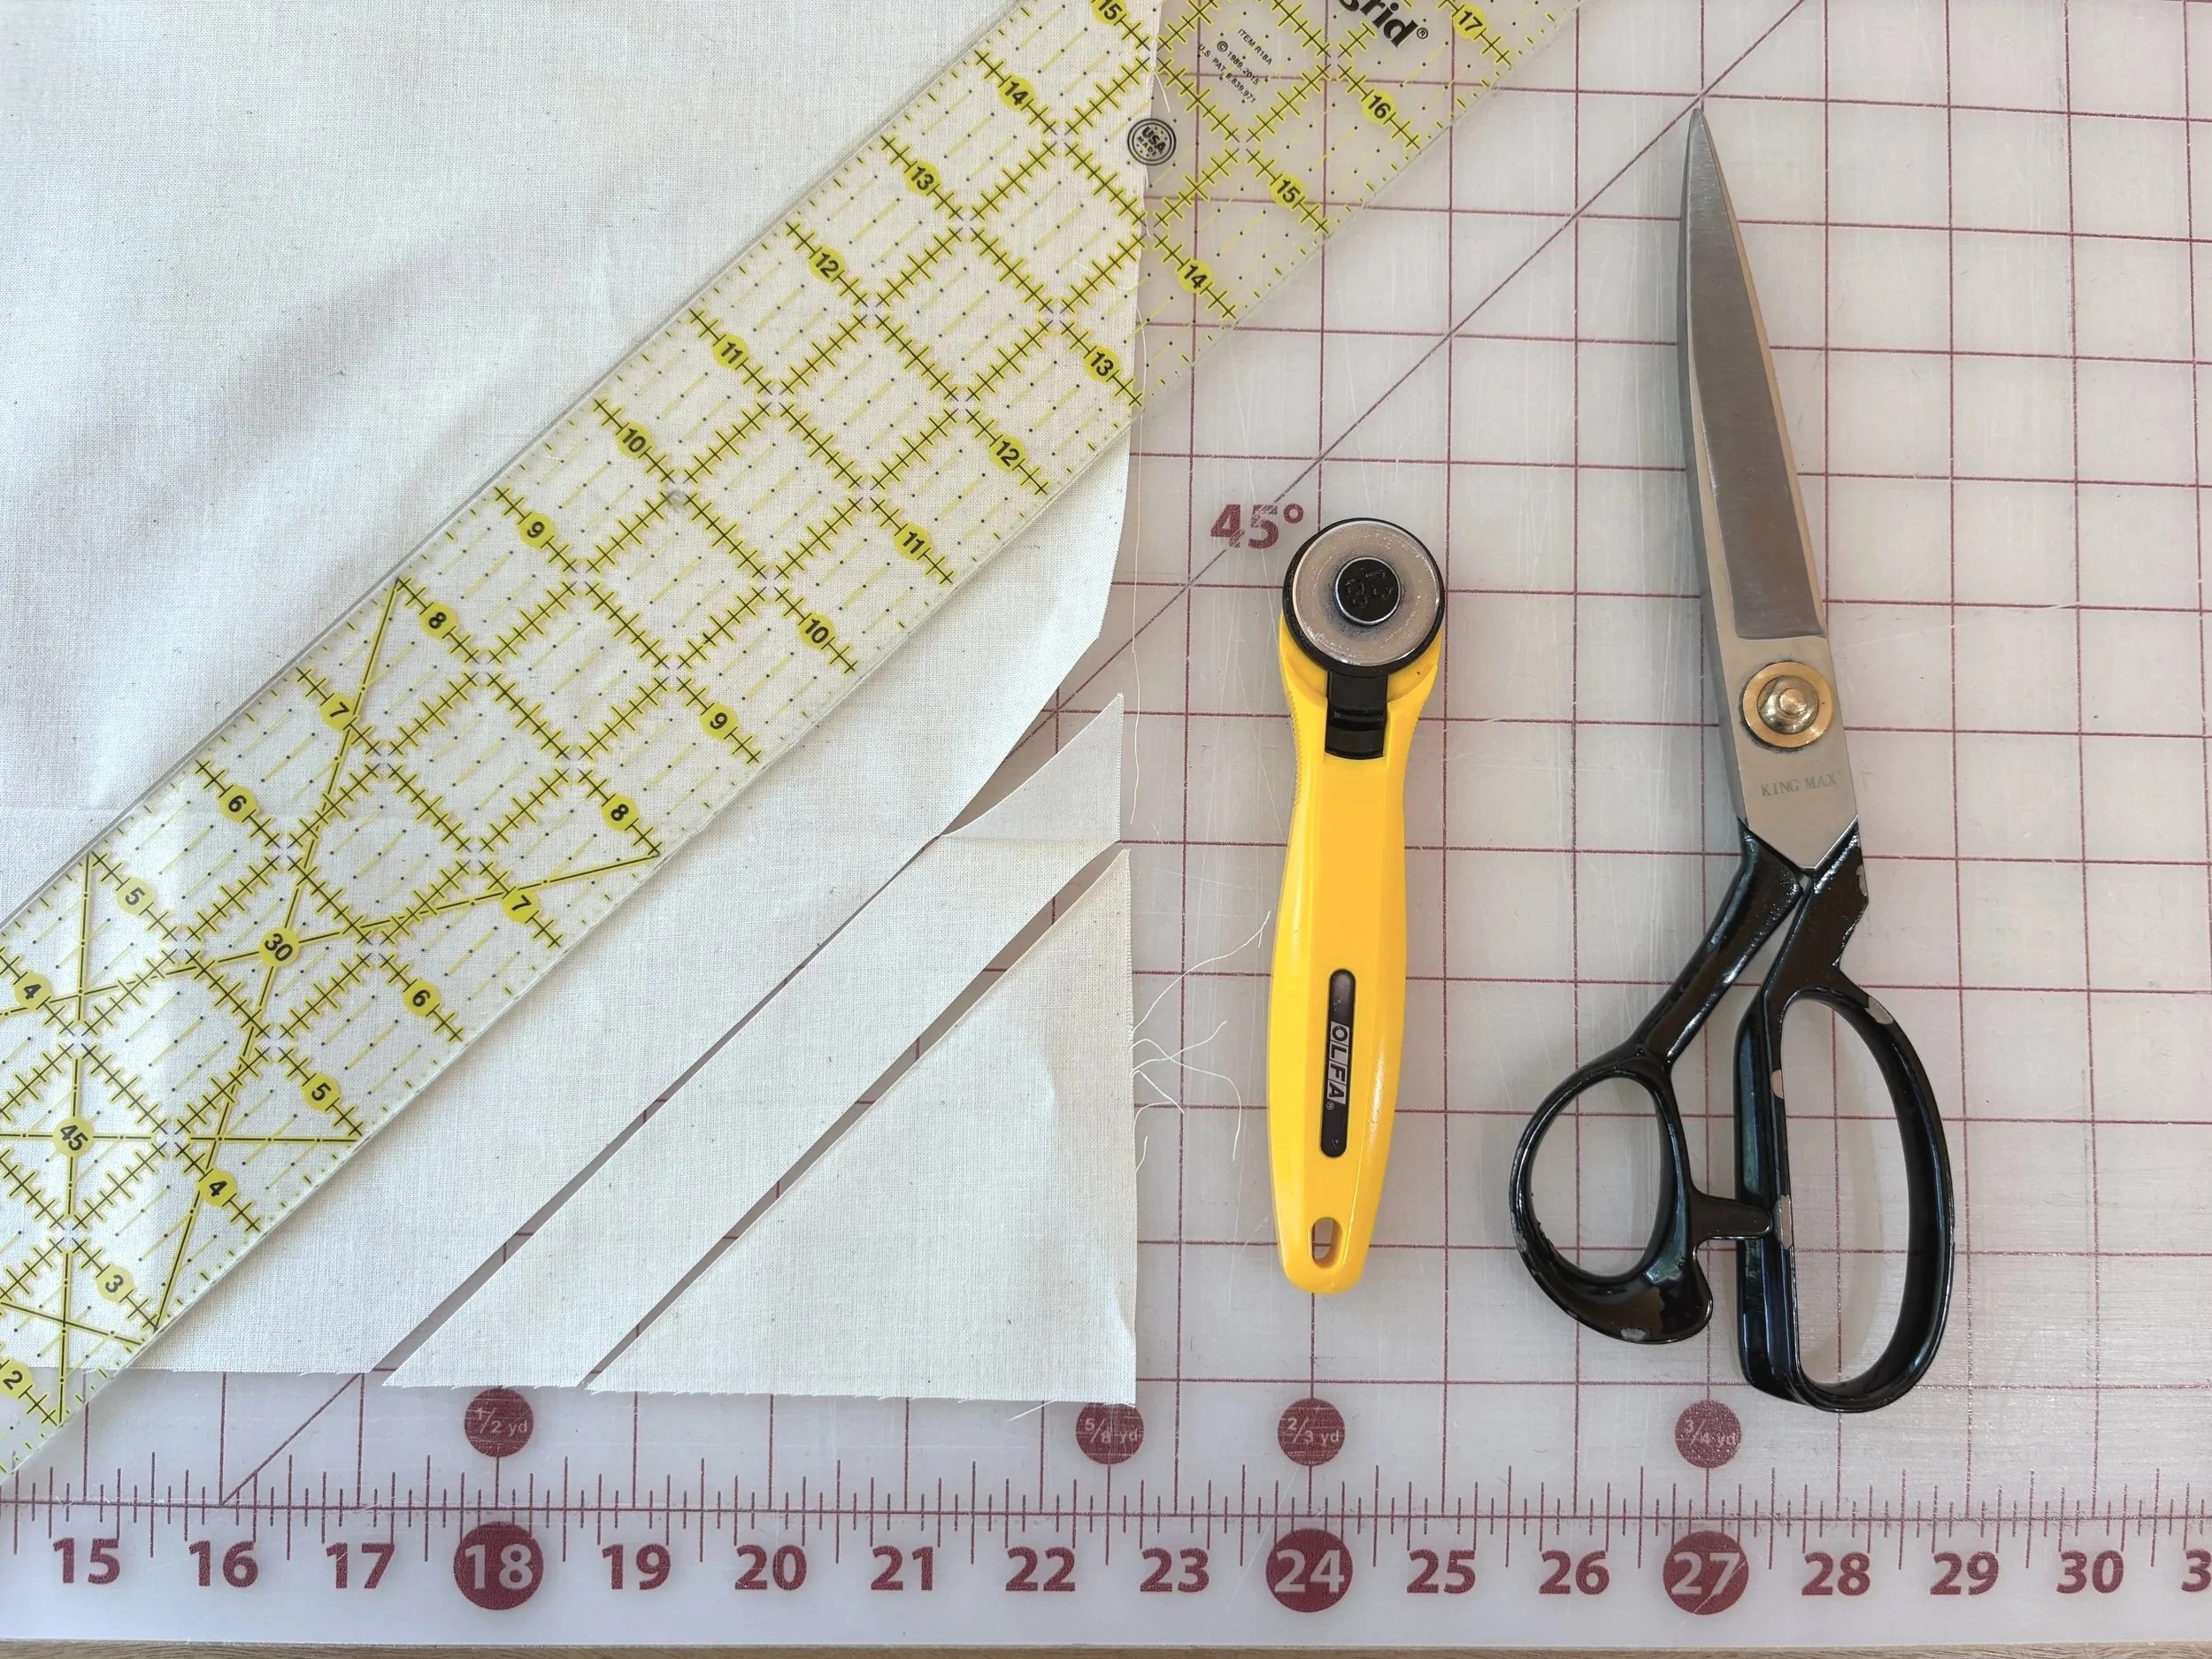
Trim the bias strip to measure 5” (12.7 cm) x 1” (2.5 cm).
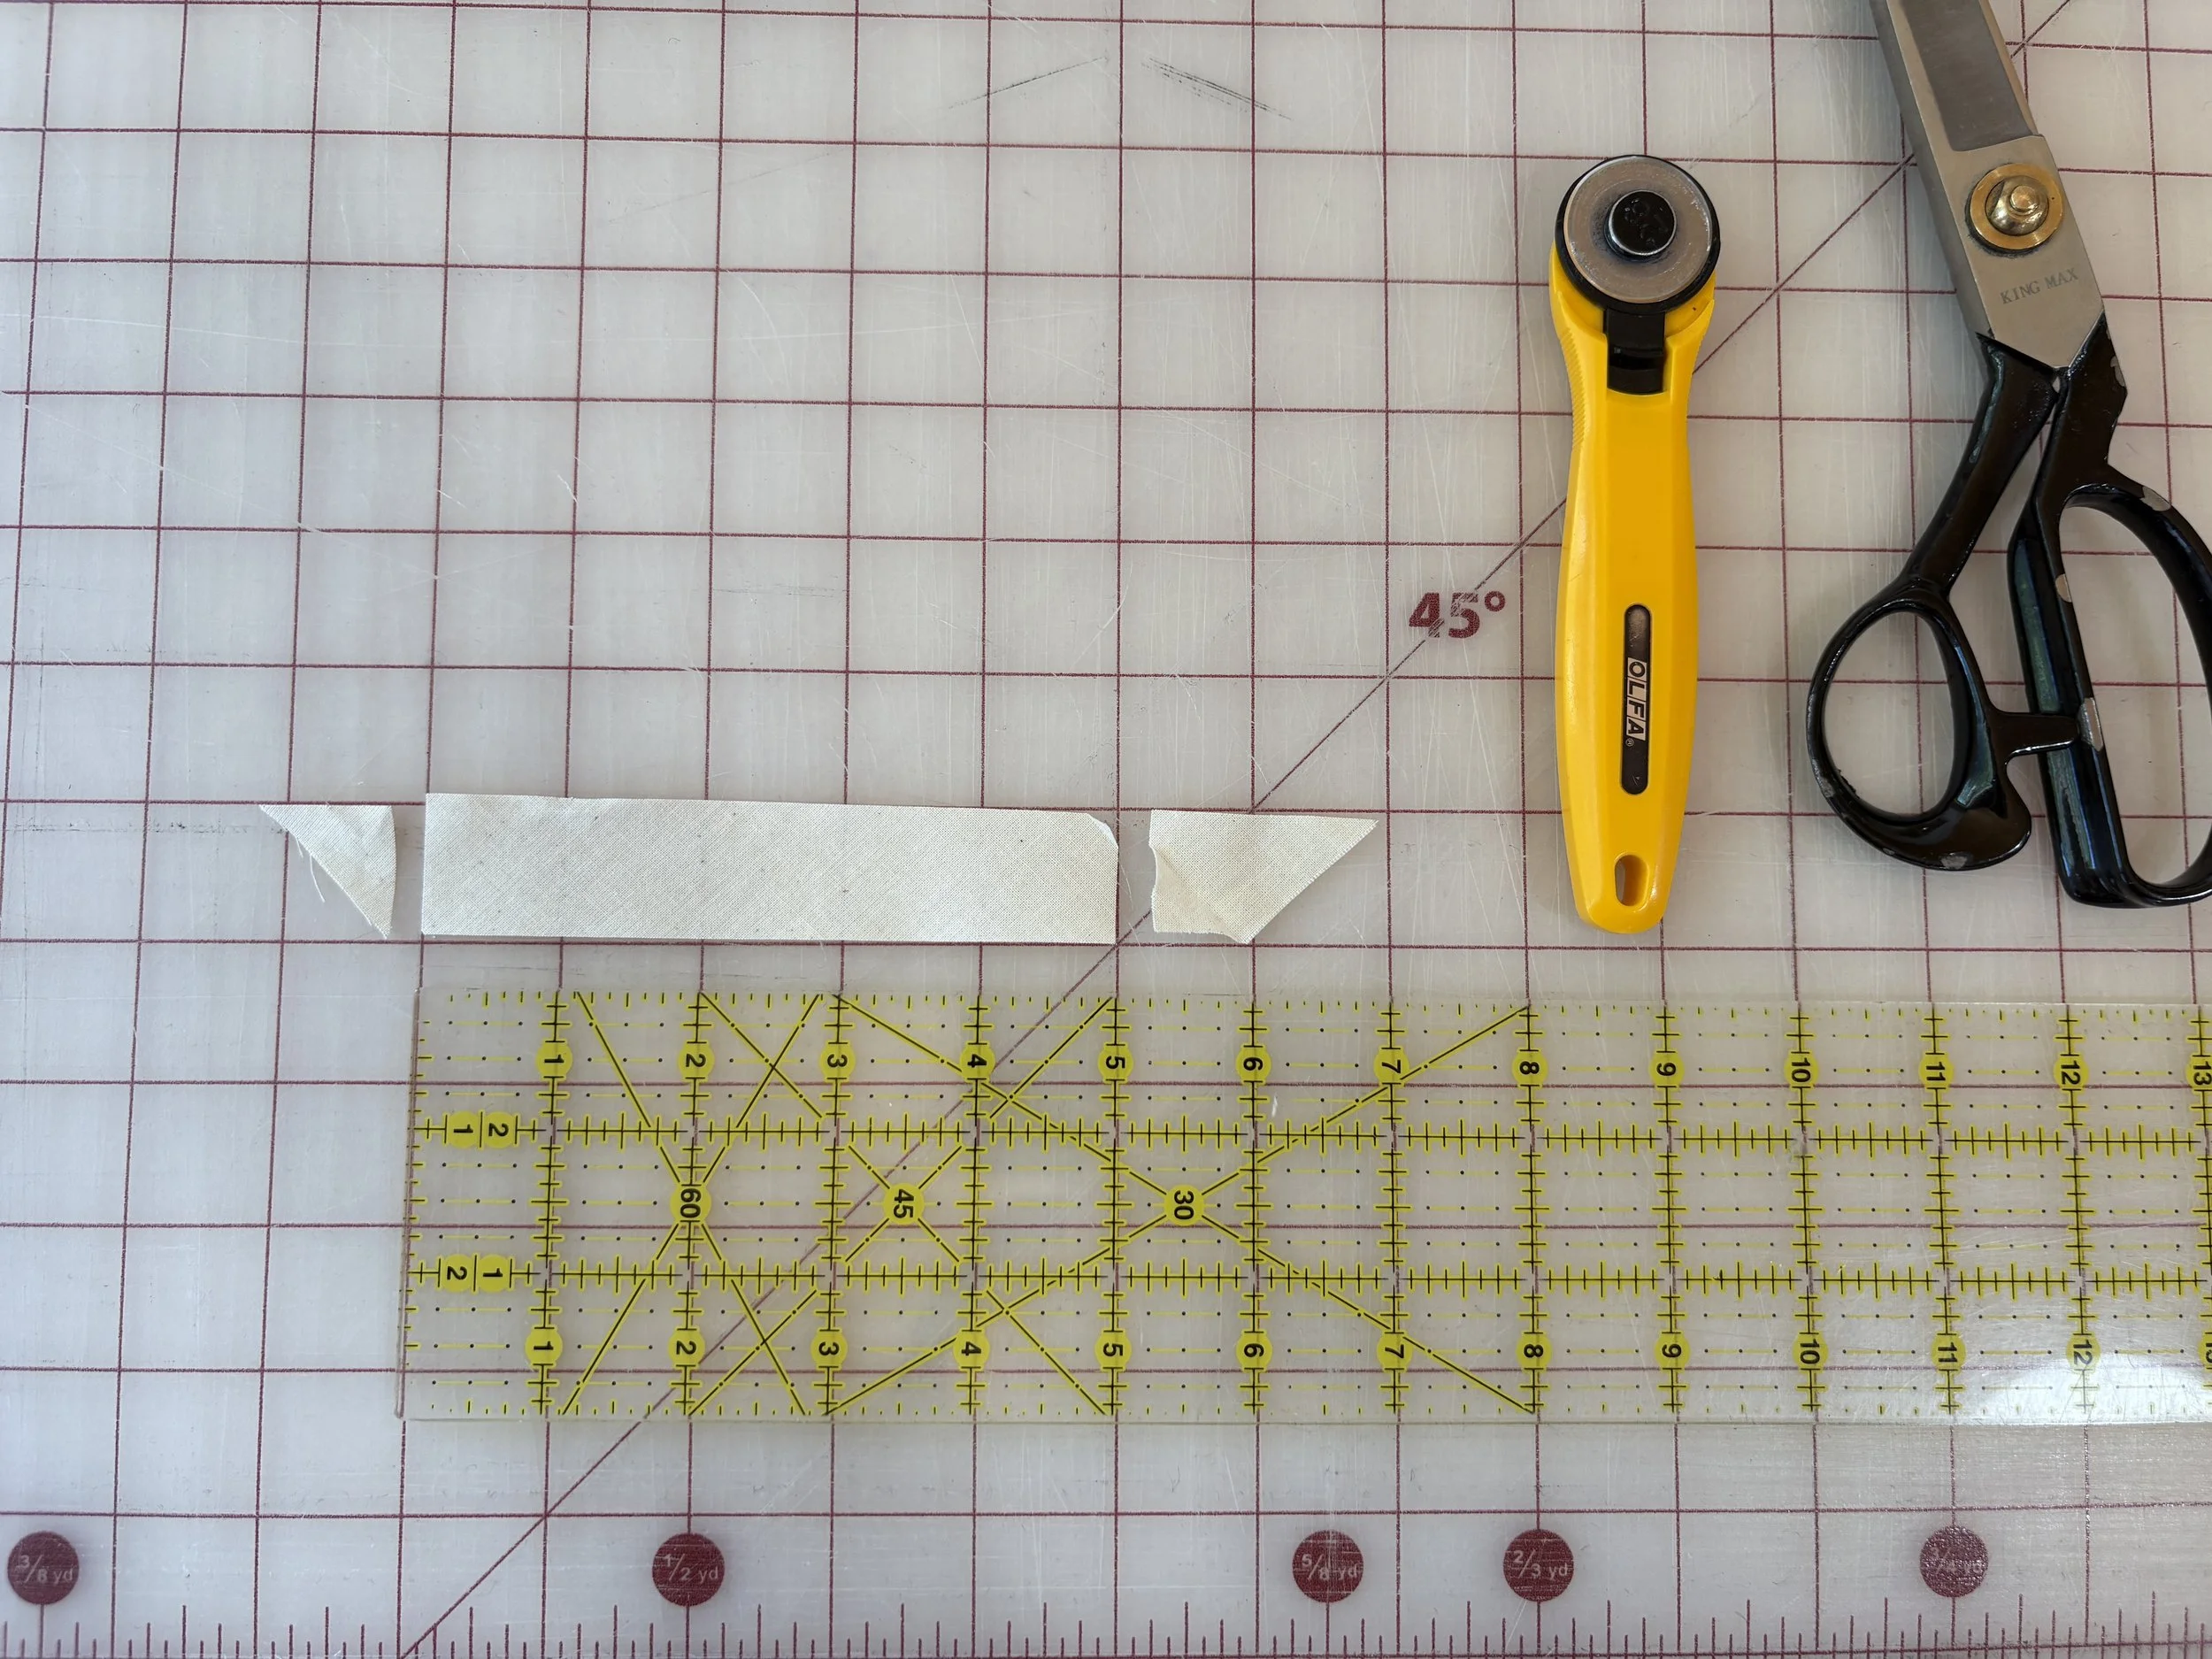
The arrow marks the bias direction — the grain runs diagonally rather than straight, which is what gives the strip stretch and lets it curve smoothly around edges.

3. Cut an opening slit on the wrap rectangle, step by step.
Fold the wrap rectangle in half lengthwise, then in half again widthwise, and press to crease both folds.
Unfold the rectangle flat. The two creases will form a cross, marking the center point where they intersect.
Cut a slit along the lengthwise crease, stopping halfway — exactly at the point where the creases meet.
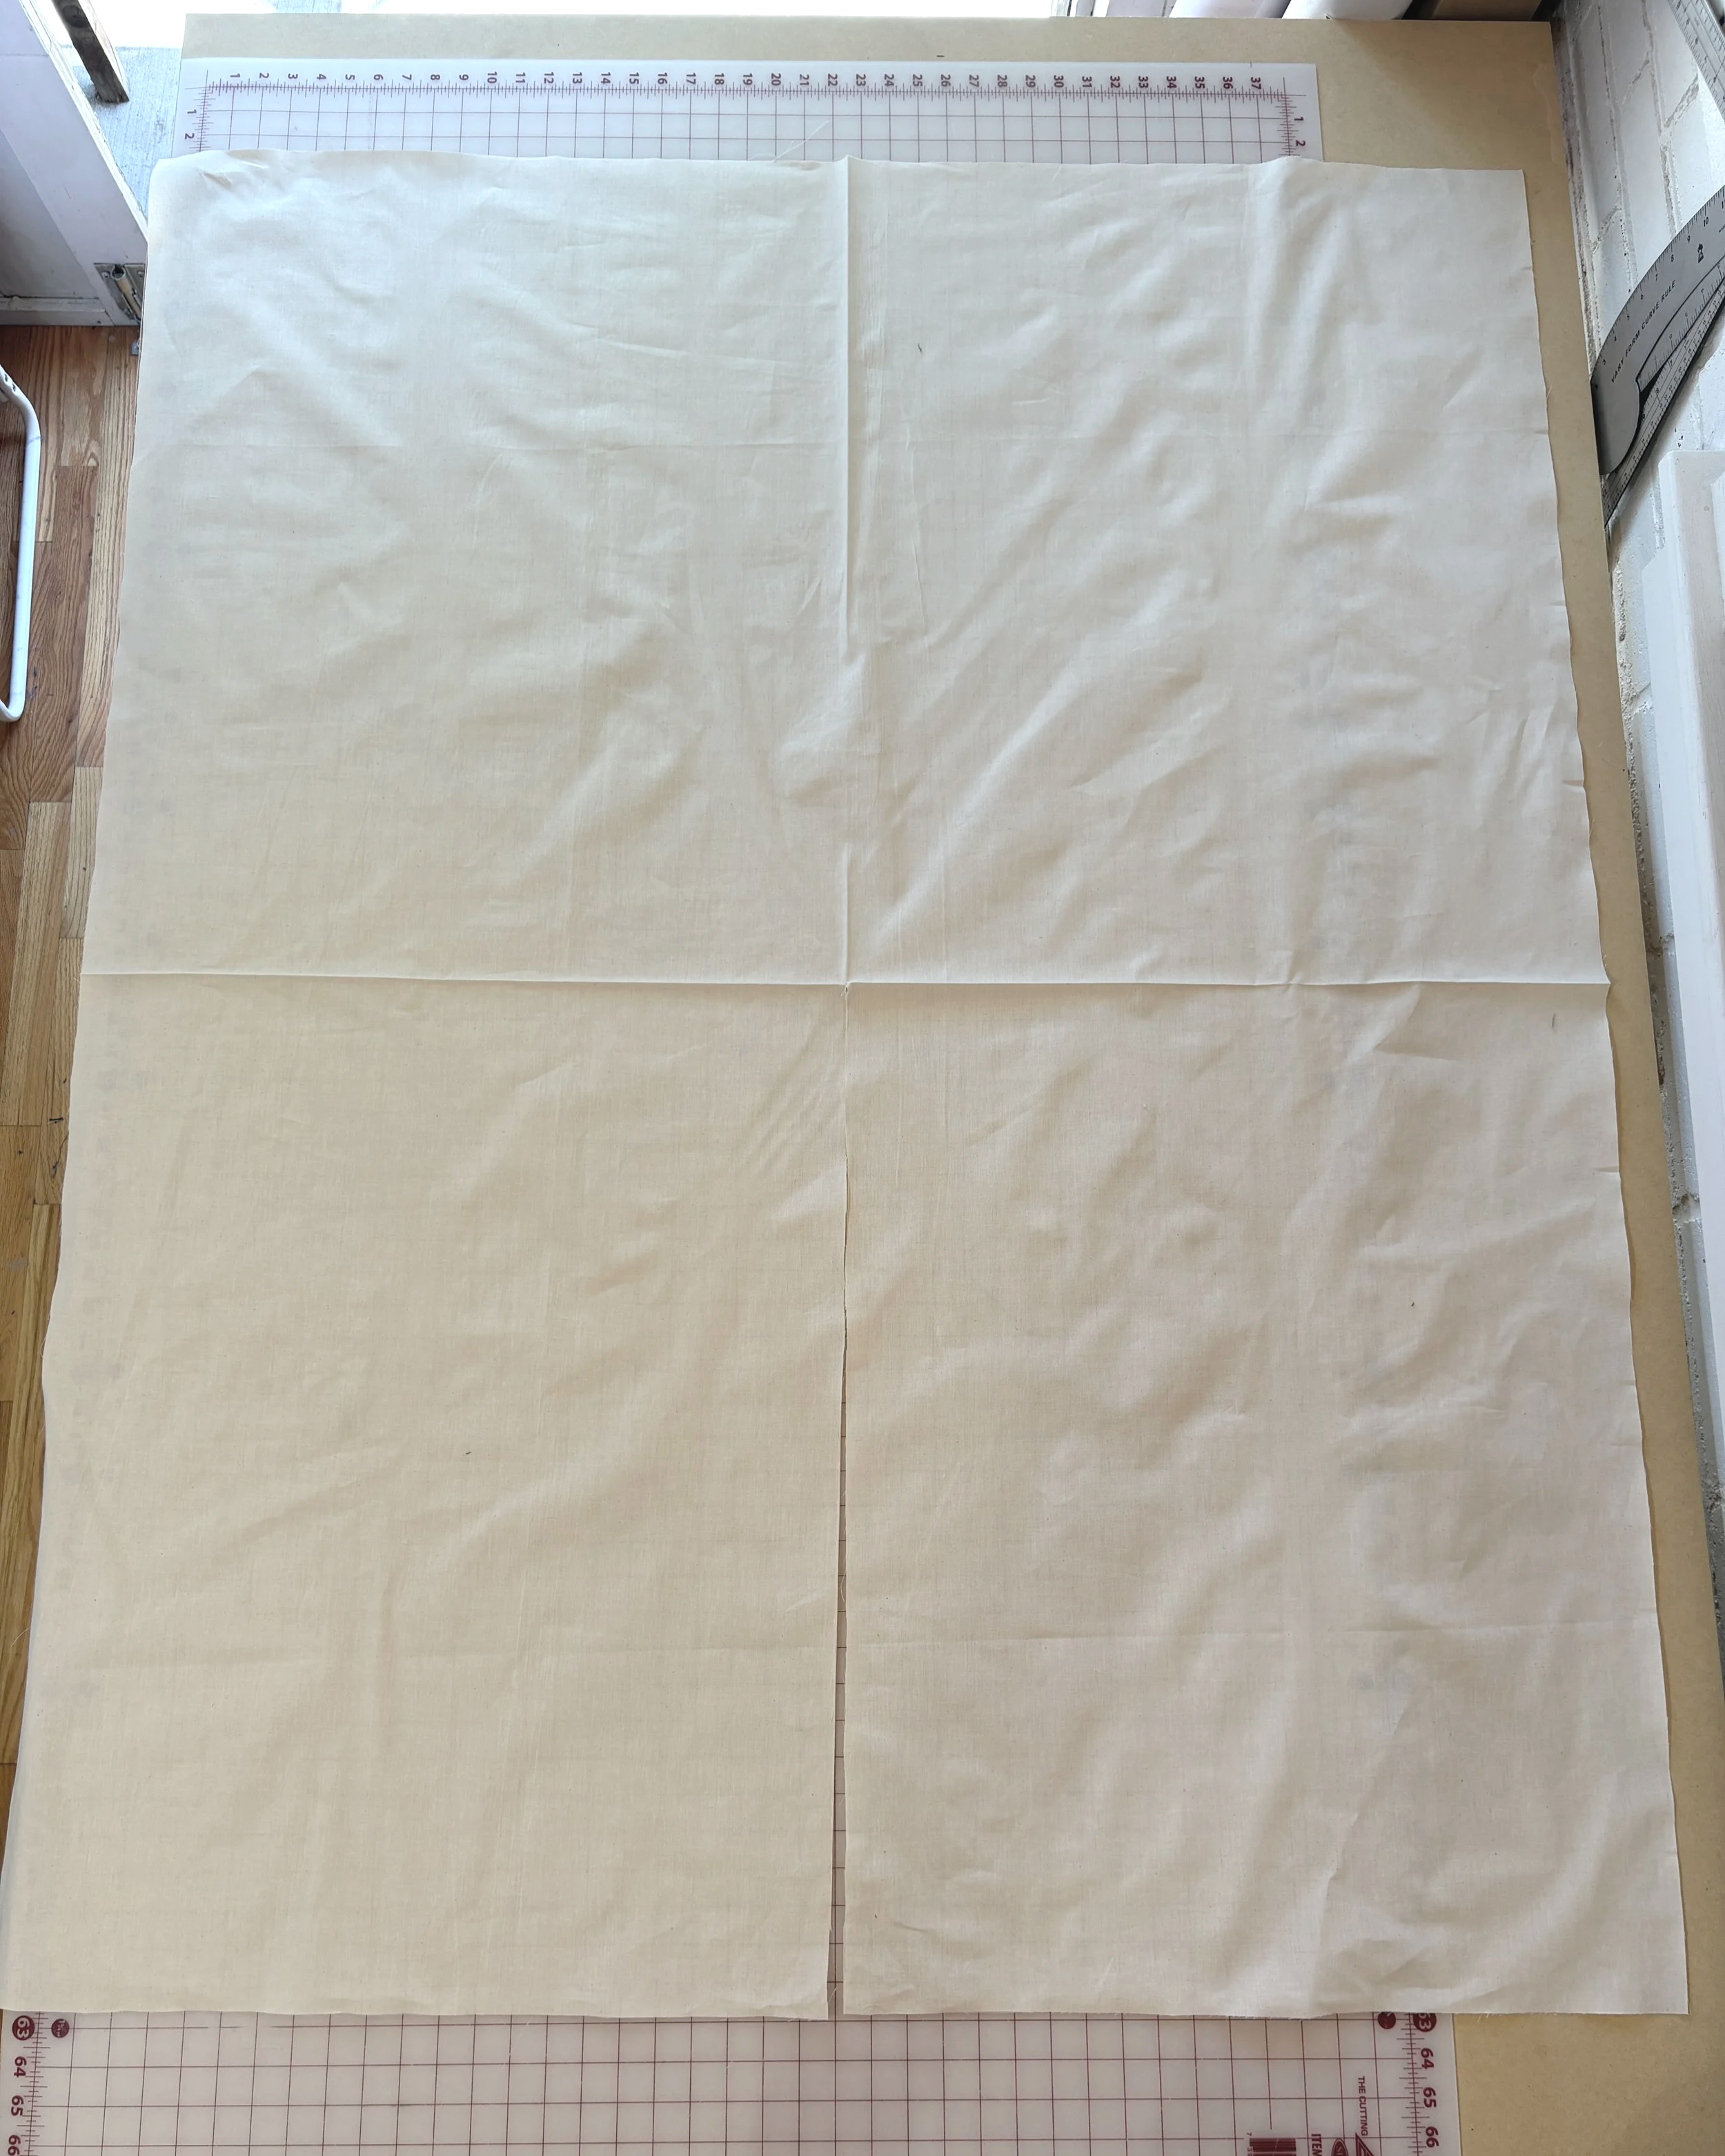
4. Pin the bias strip onto the center back neck.
Center the bias strip over the point where the slit ends, right sides together, with raw edge of bias aligned to the slit point.
Pin in place.
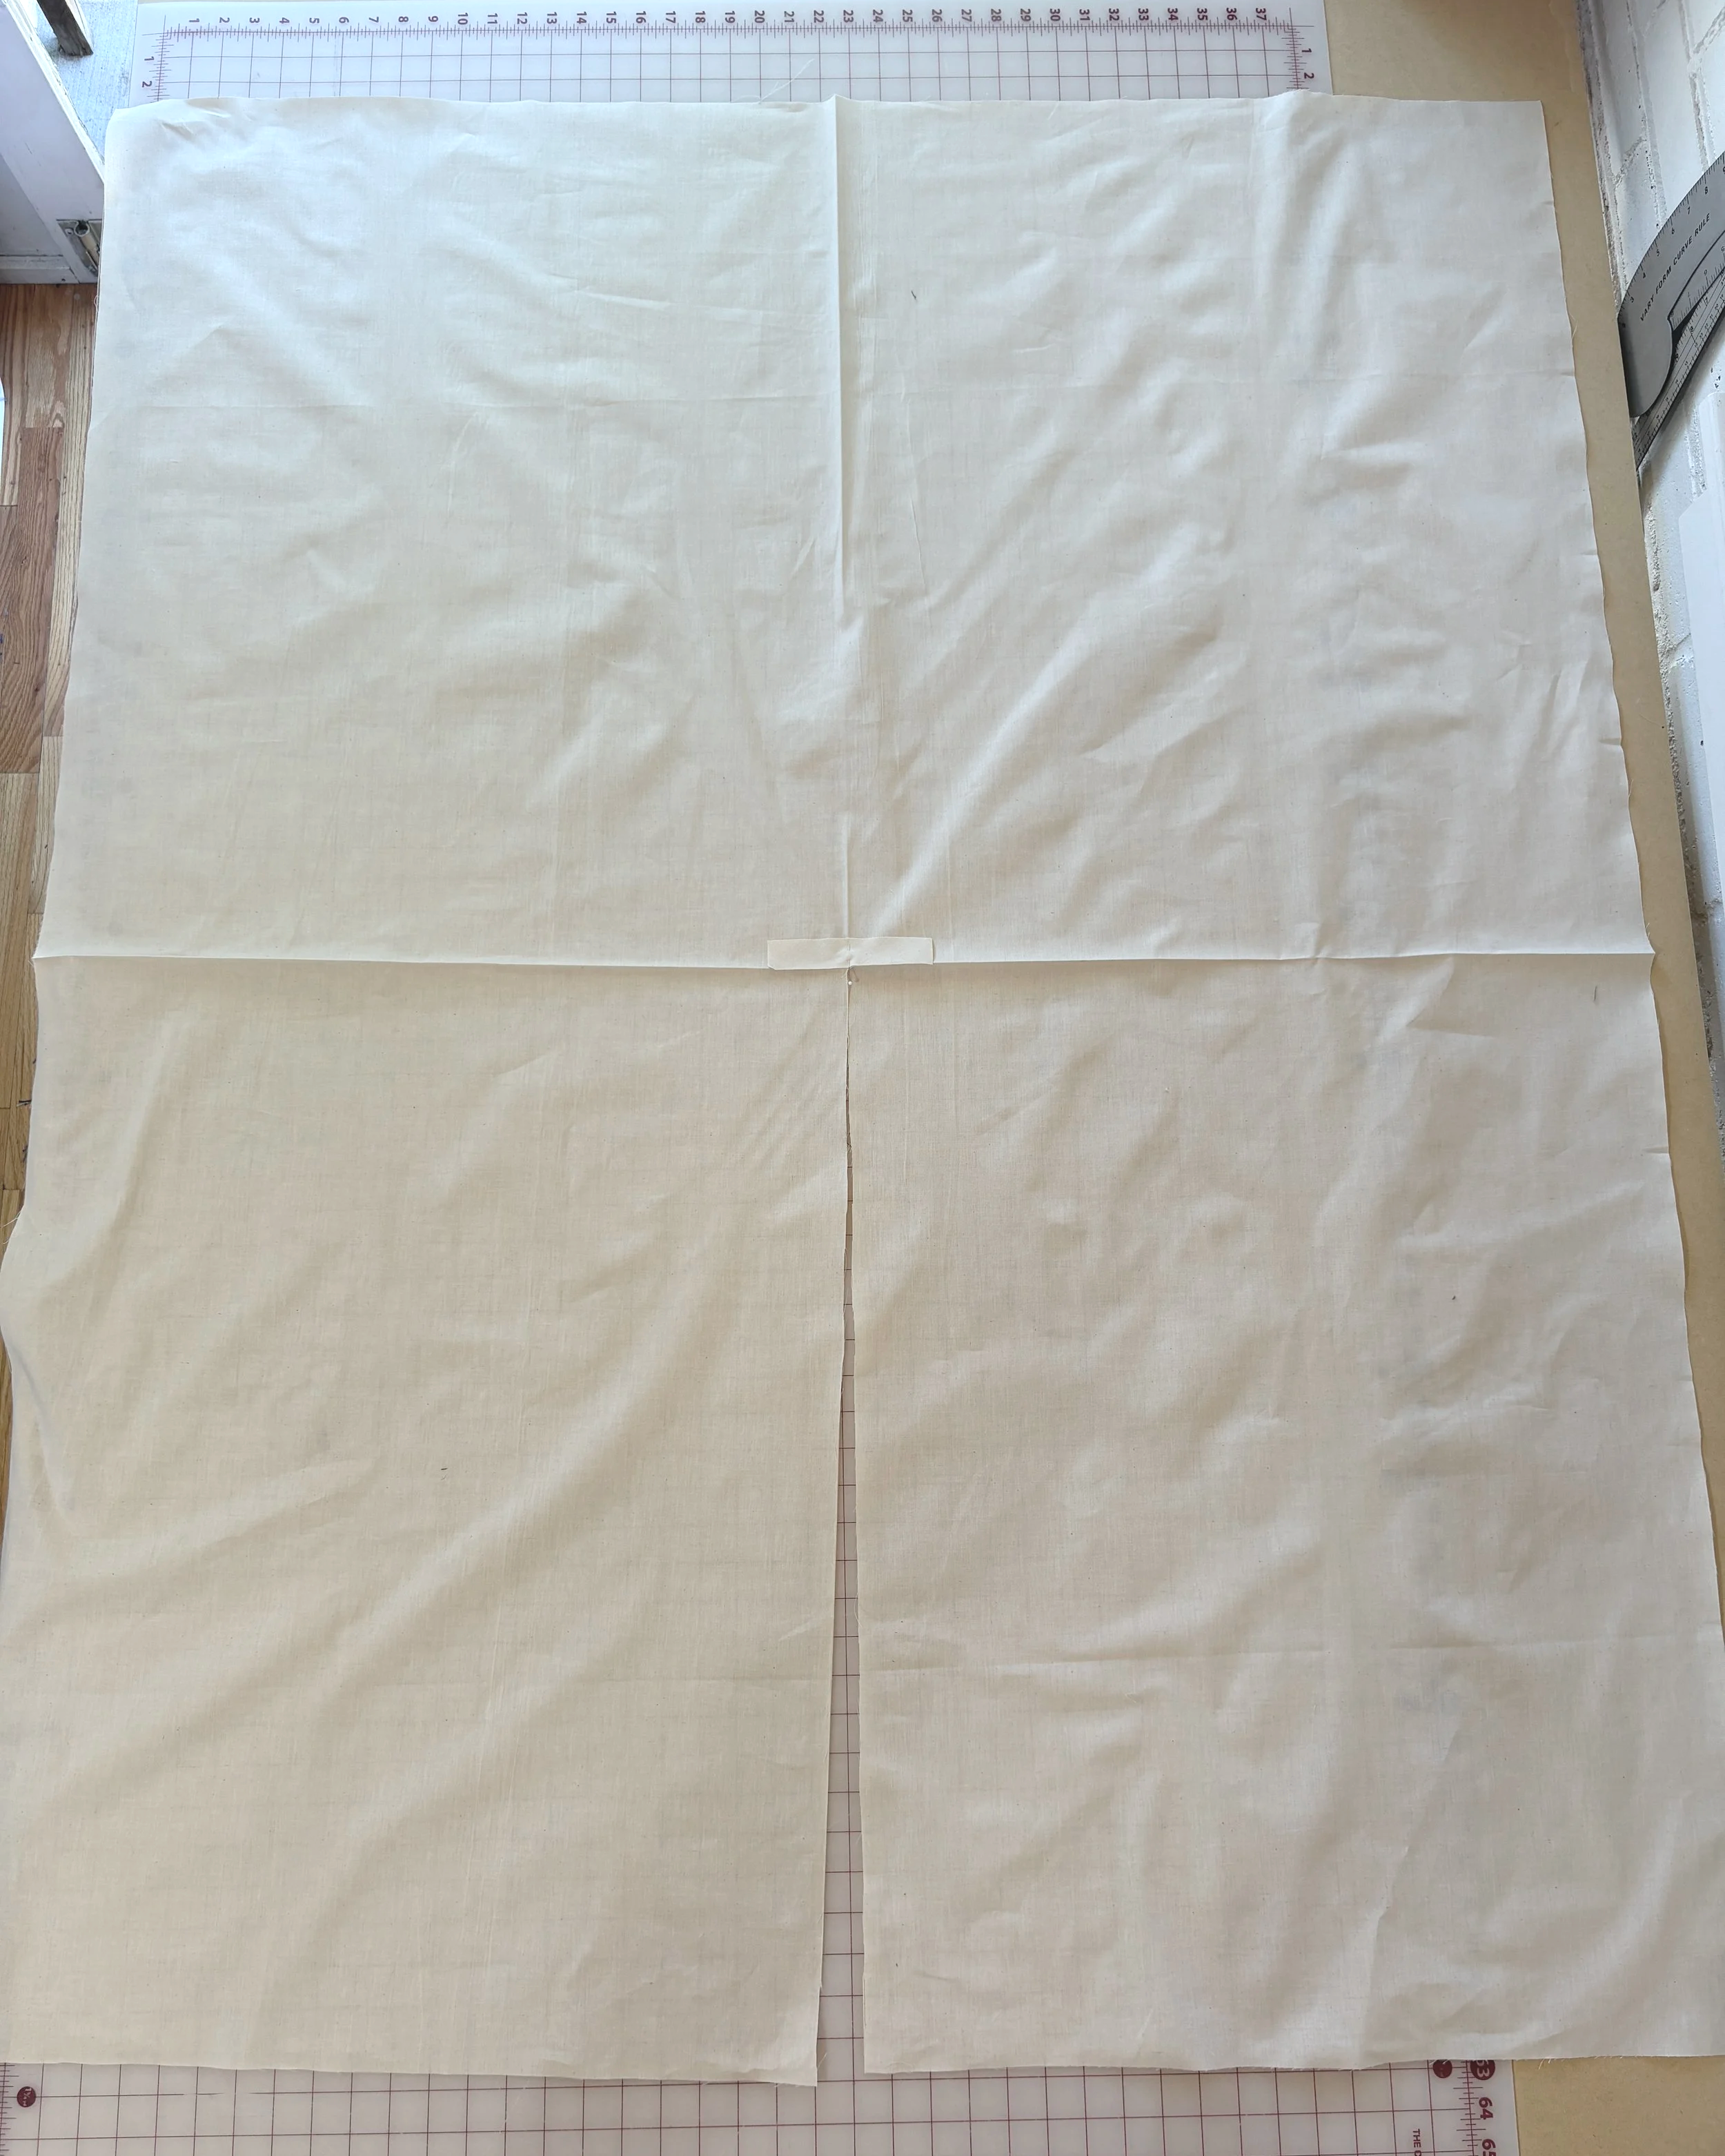
Add pins on both sides of the center point to secure the bias strip flat. Sewing the bias onto the back neck reinforces the point and makes it easier to sew cleanly without the fabric tearing further at the tip.
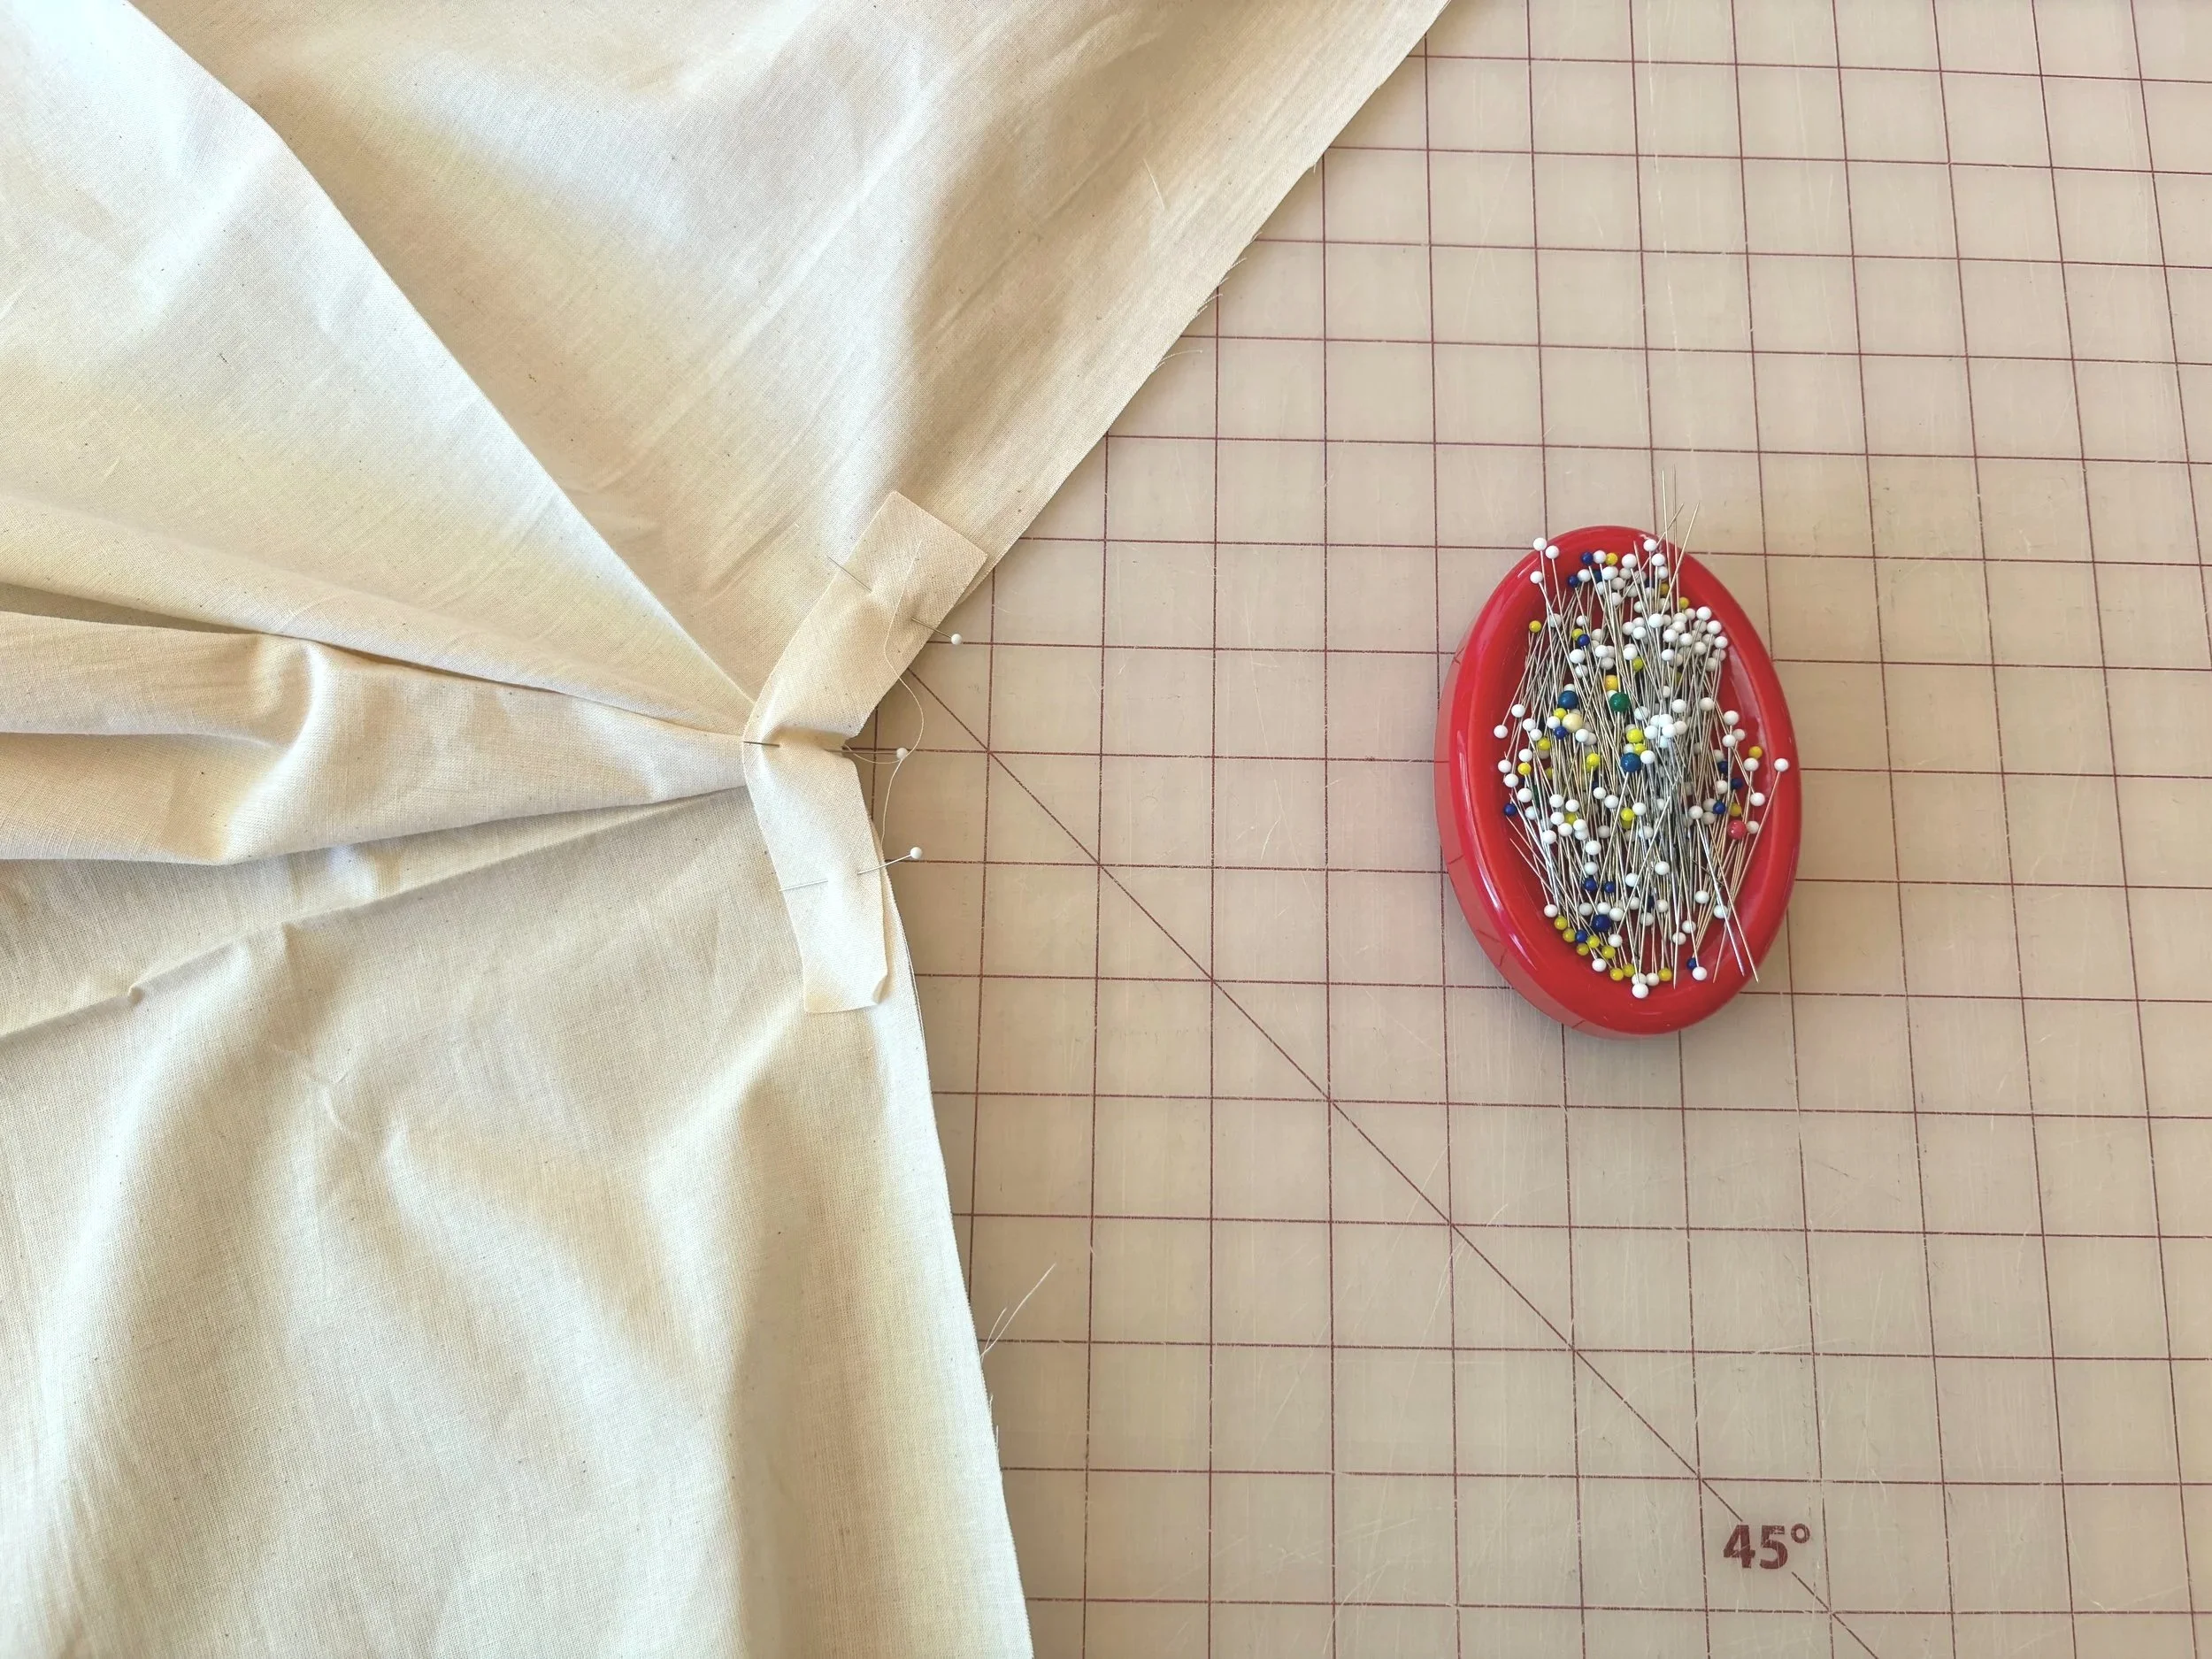
5. Sew the bias strip to the center back neck.
Place the bias strip face-down against the feed dogs. Position the back neck point facing up so you can manage any gathering as you sew.
Start sewing from one end of the bias to the other, back stitch on both ends.
At the center back point, measure your 1/4" seam allowance from the inverted point of the garment fabric — not from the raw edge of the bias strip.

6. Press the back neck.
Press the bias and seam allowance away from the garment, on both sides (right and wrong).
7. Taper and trim bias ends.
Taper the tail ends of the bias strip that extend past the edge of the cut opening, so they align with the edge of the front opening.
Draw a tapered angle with a straightedge, and trim away the excess.
This gives you a clean, aligned edge to fold and sew in the next step.
8. Press folds on the back neck and front opening edges.
A tailor's ham and a spray of water will make this step easier. Work on the wrong side of the fabric throughout.
Starting at the back neck, fold under 1/4" and press.
Fold under another 1/4" and press again — this is your finished double-fold edge.
Repeat the same two-step fold and press at the front opening edges, this time using 3/8" folds.
9. Sew neck and center front opening.
Working with the wrong side of the garment facing up, sew along the pressed fold starting at the bottom hem on one side of the front opening, continuing around the back neck, and finishing at the bottom hem on the opposite side.
Sew 1/8" in from the folded edge to enclose all raw edges.
Backstitch at the beginning and end of your stitches.
(Video of sewing the back neck is below.)
If you aren't able to sew close enough to the folded edge on the back neck, don't worry! Simply sew another stitch line closer to the folded edge. You can pick out the first stitches after you sew, if you prefer, but I'd just leave both rows of stitches for extra reinforcement.
(Below is a video of what I did)
Finished back neck.
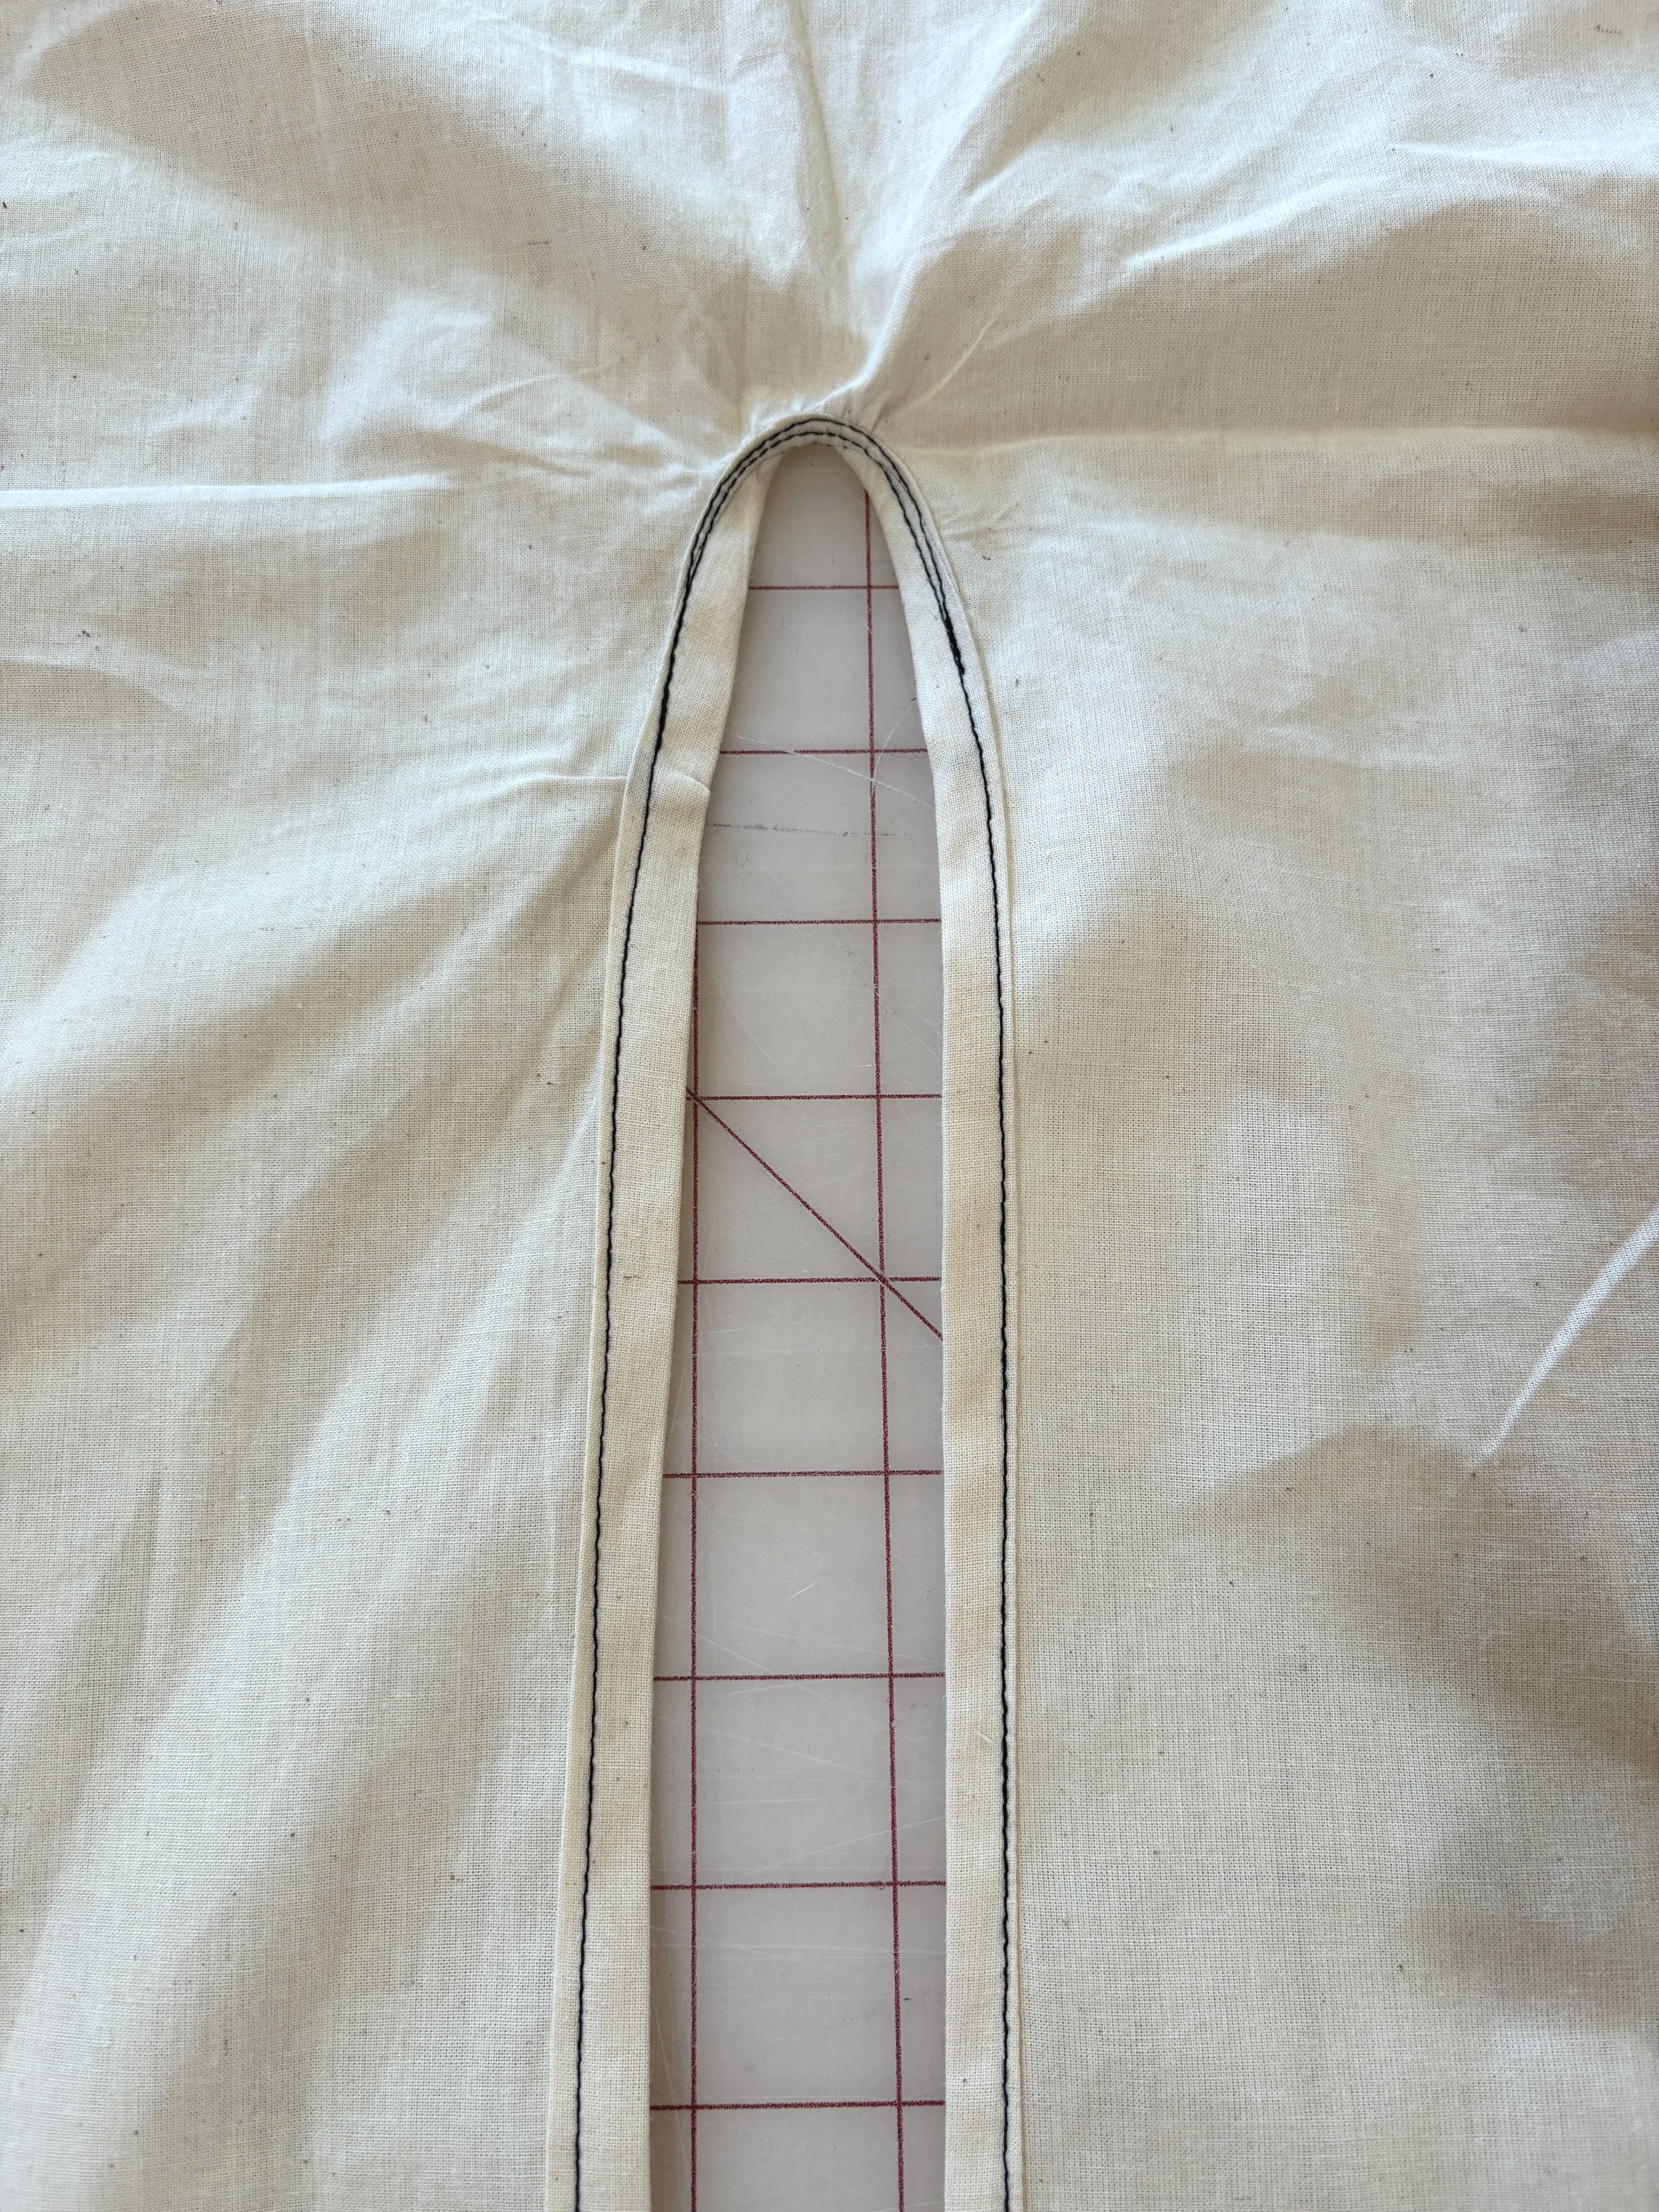
Finished front opening.
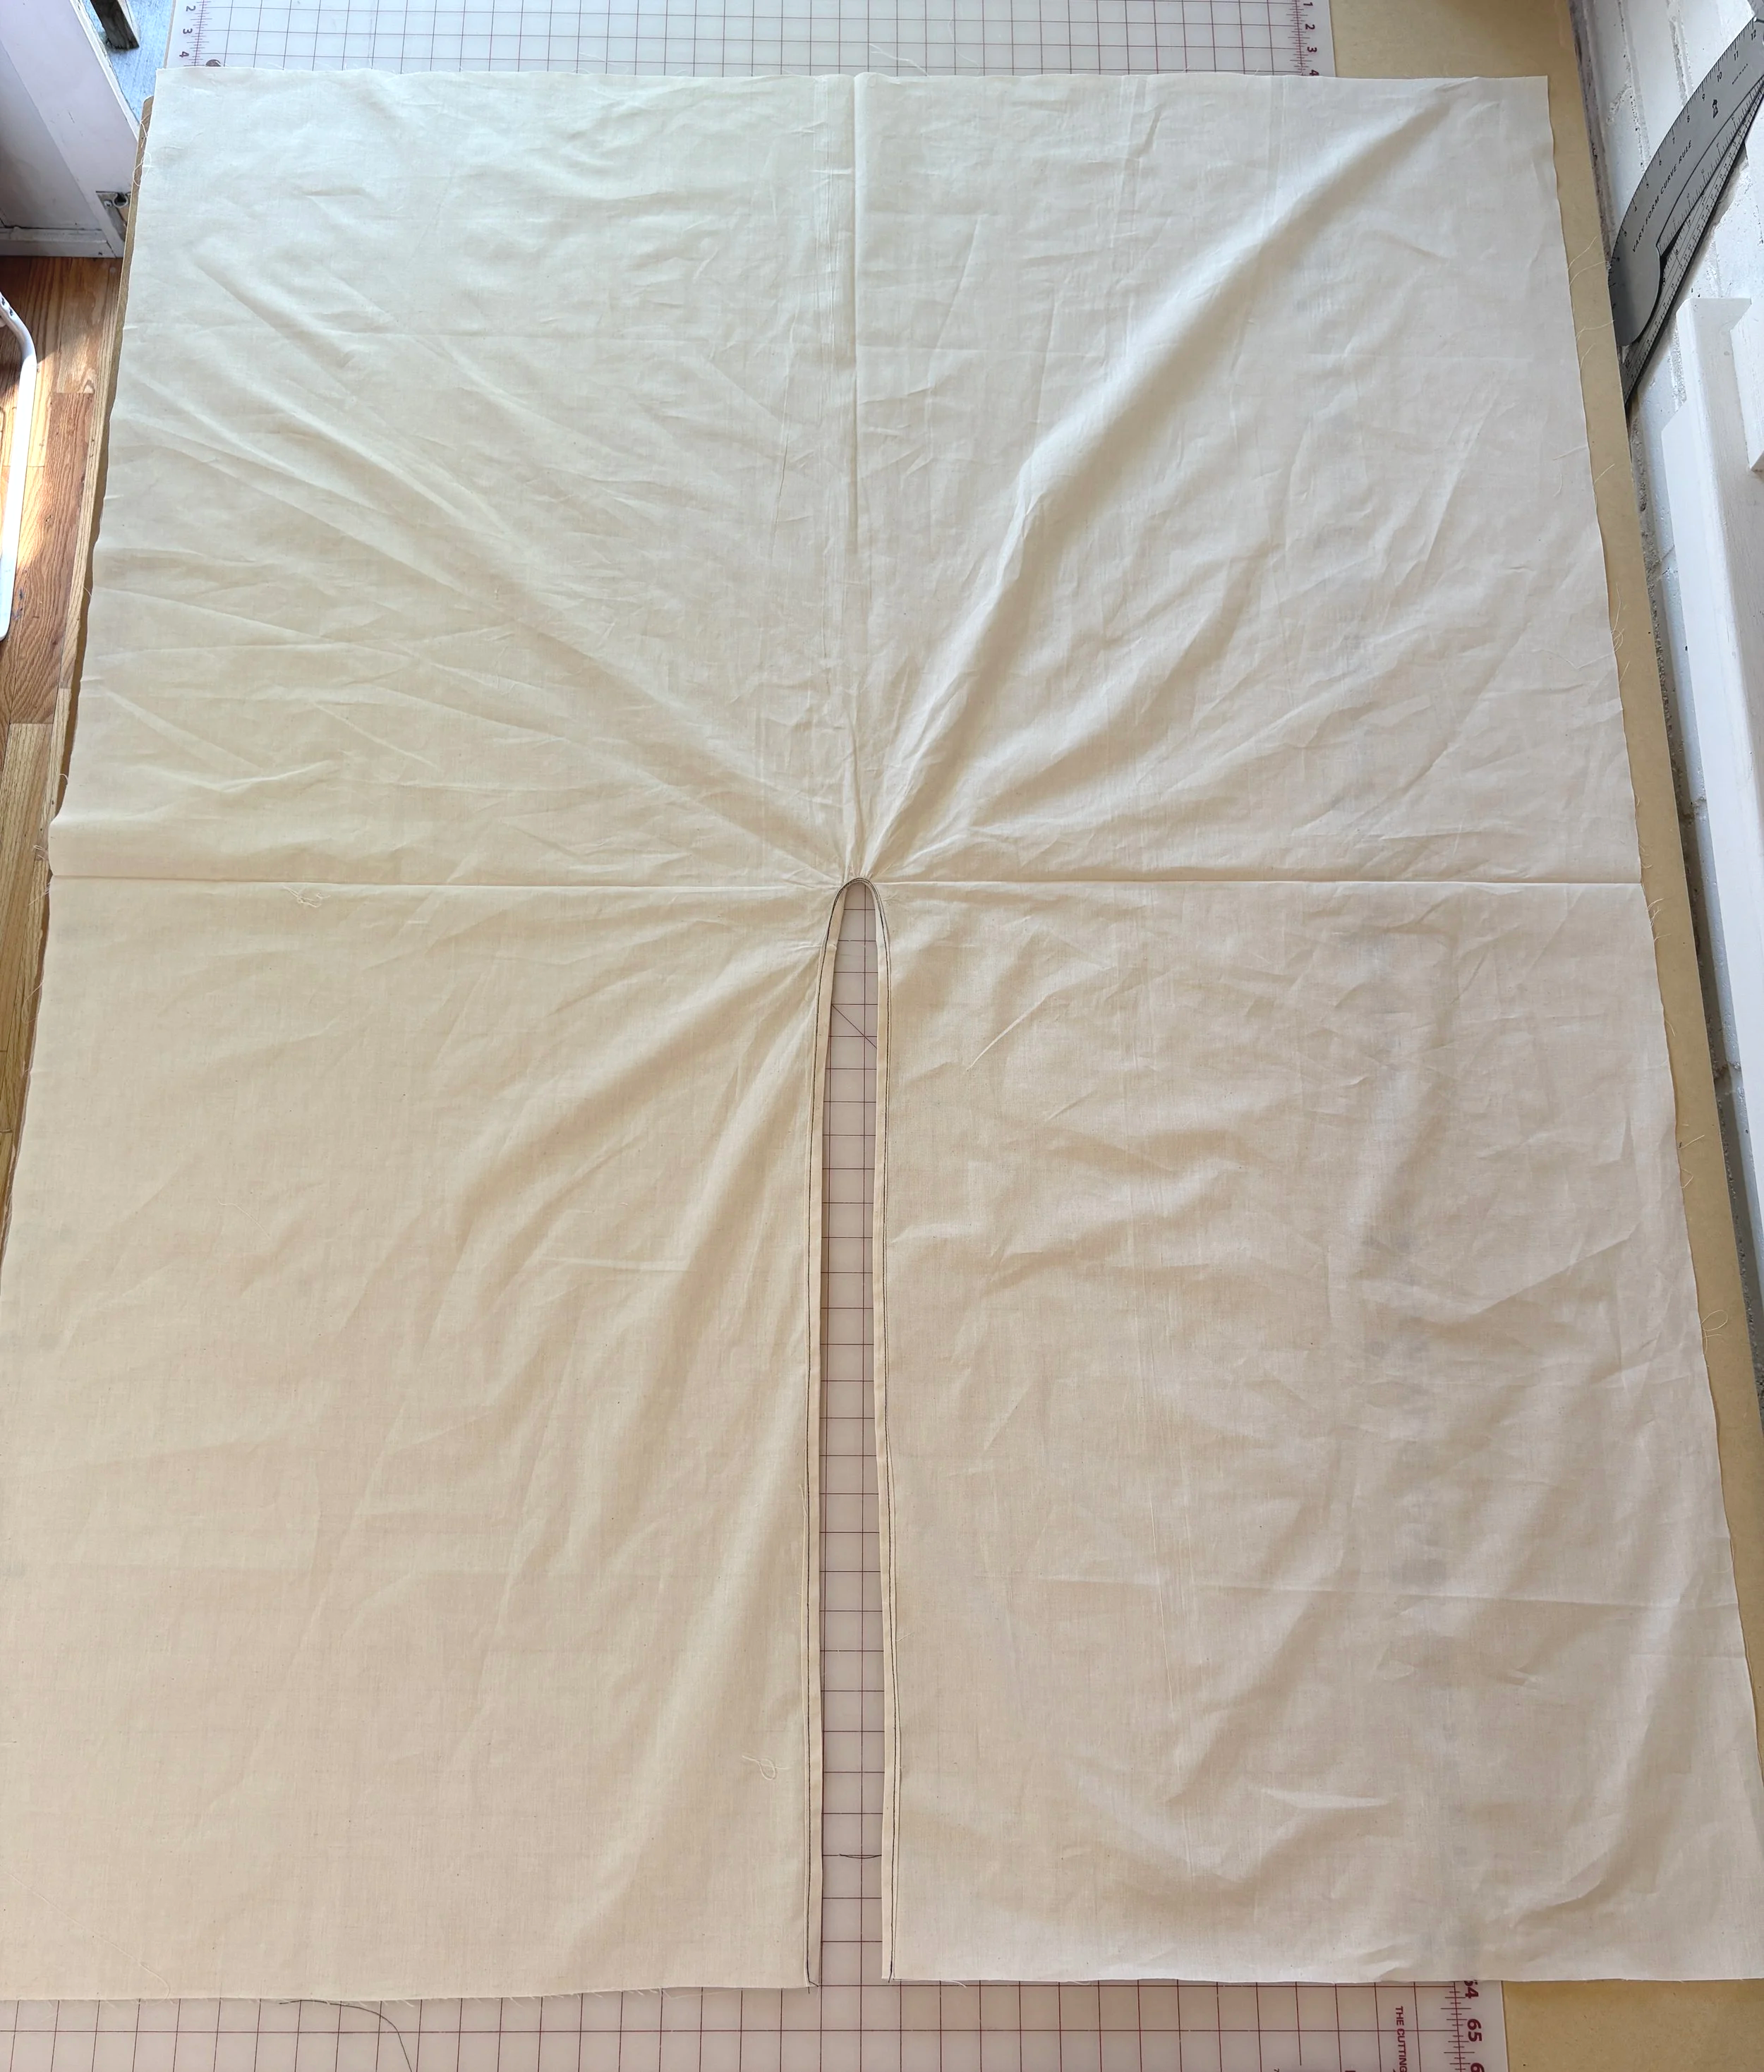
10. Sew side seams.
With right sides together, leave the top 8" (20.3 cm) open, measured from the shoulder fold down. Backstitch at the start, then sew the side seams with a 1" (2.5 cm) seam allowance down to the hem.
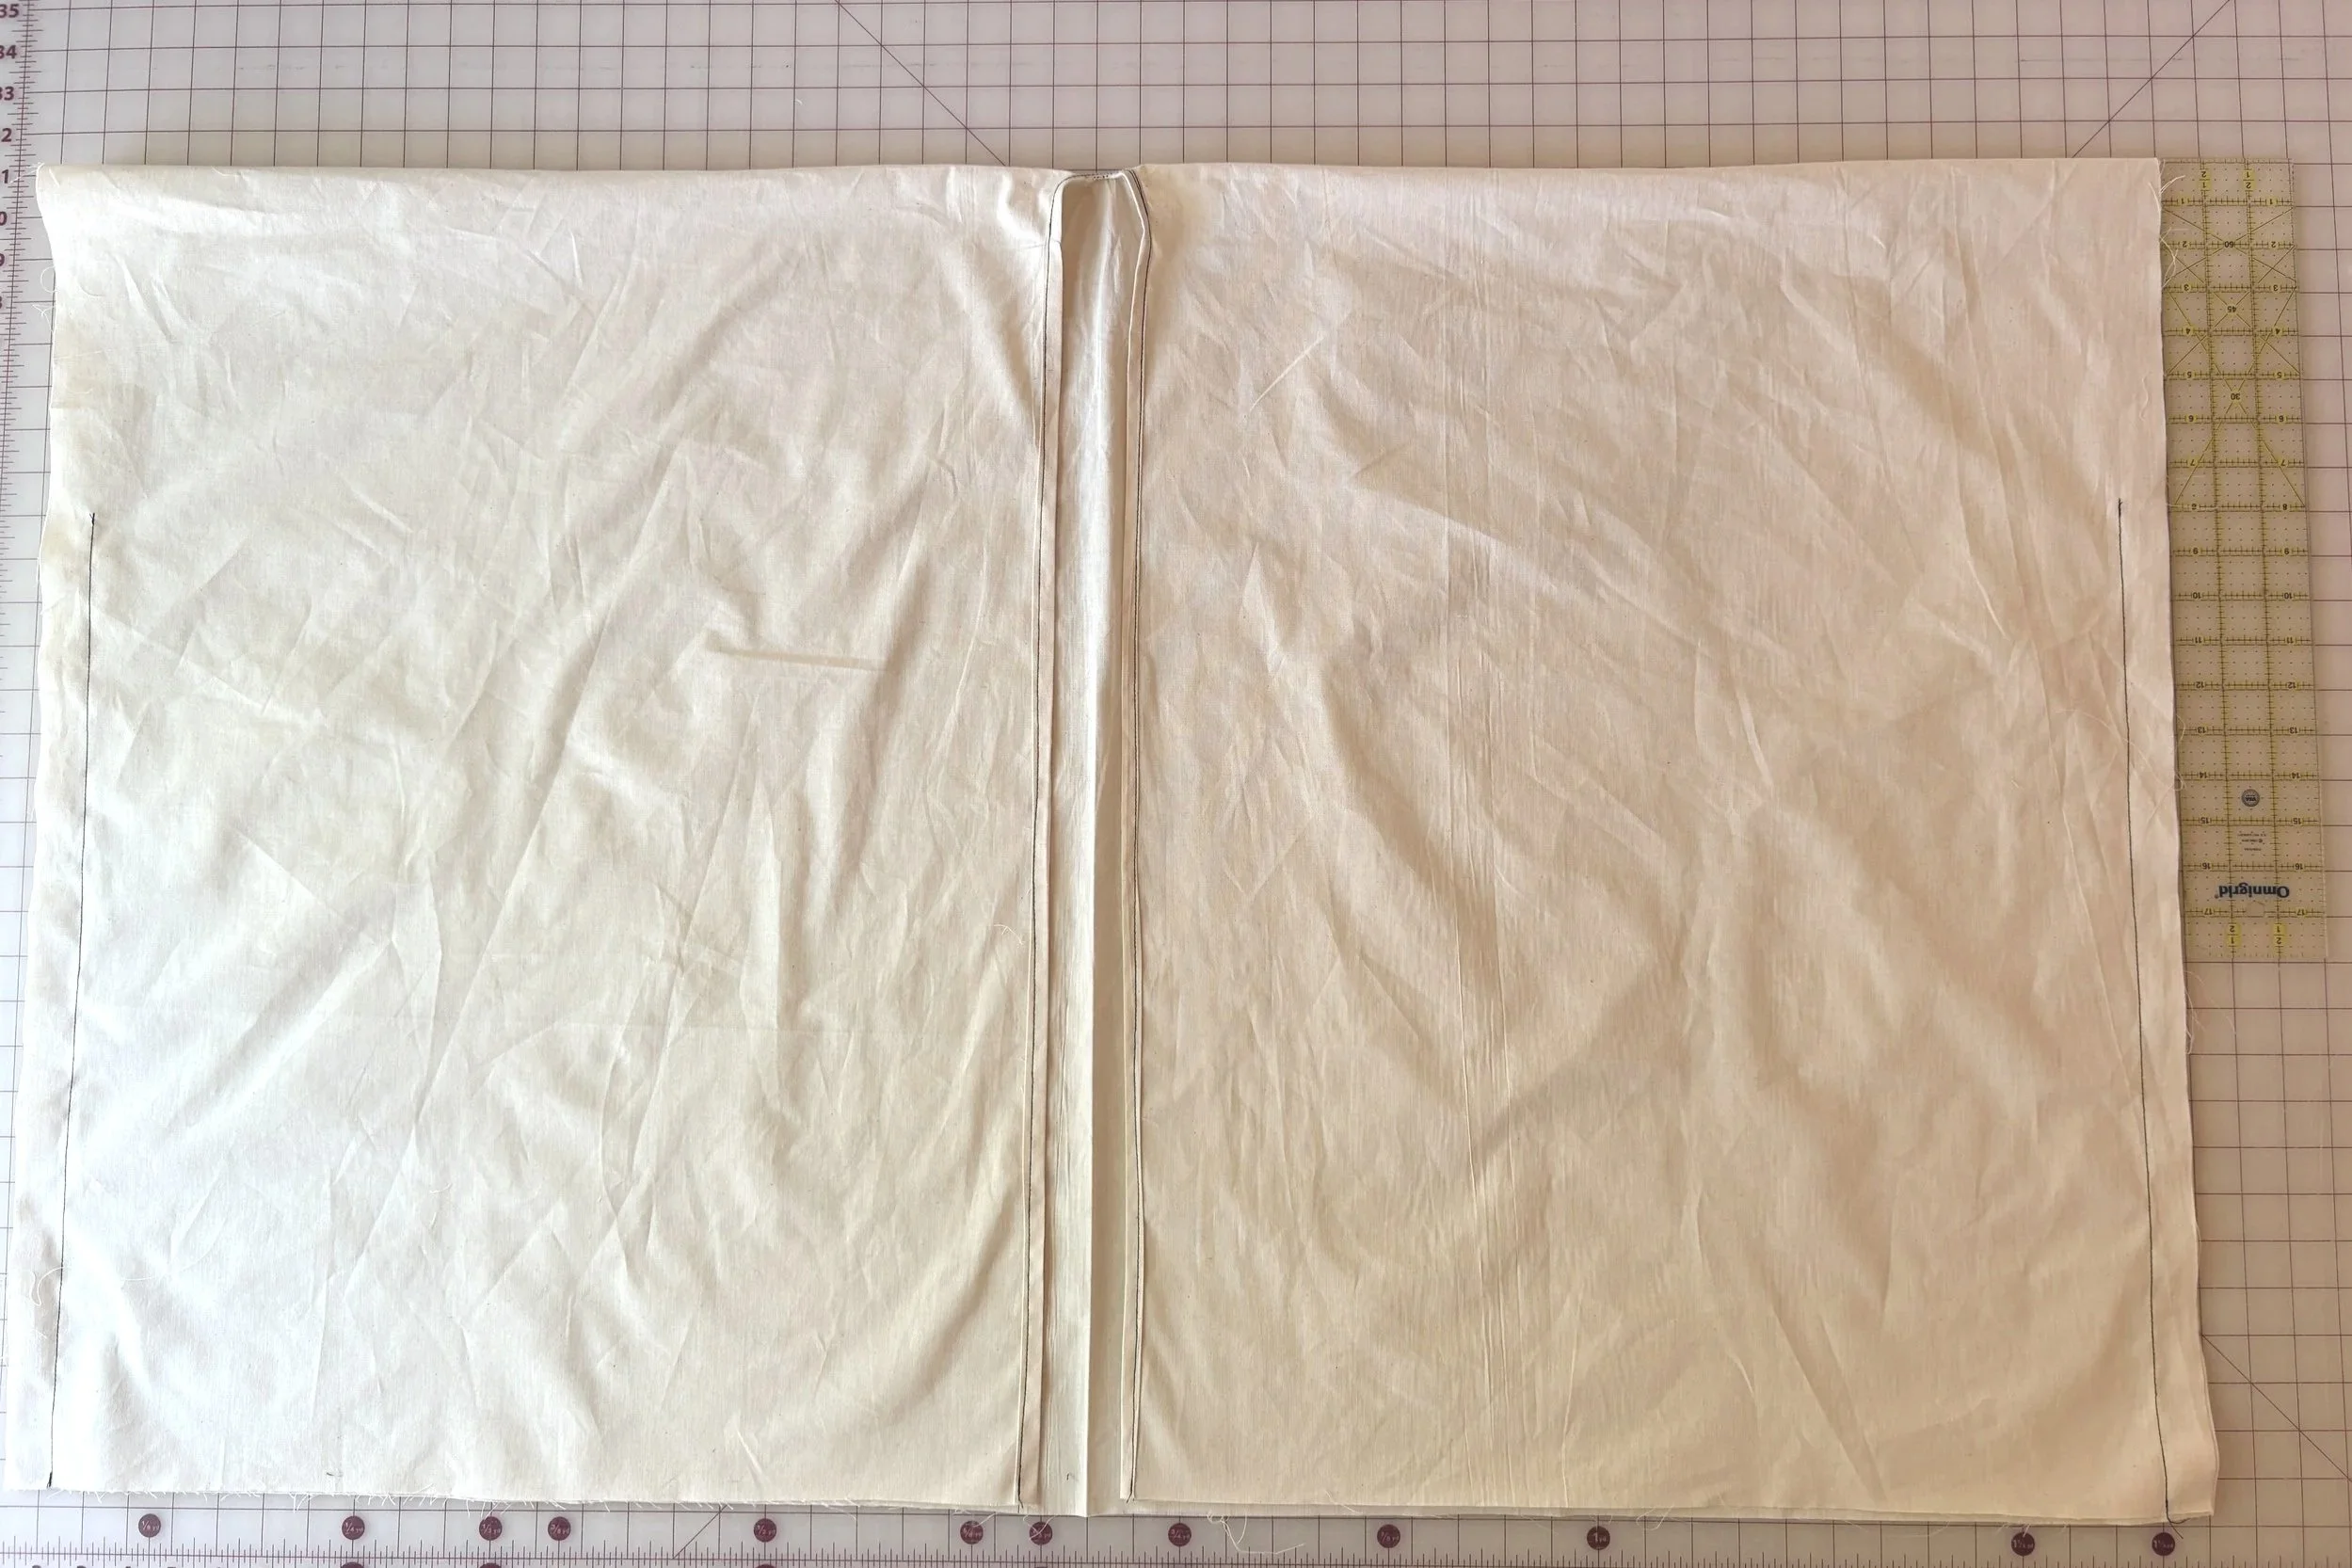
11. Press side seams open.
Press the seam open from the wrong side, then press lightly from the right side to flatten.
(Watch video of armhole pressing tip)
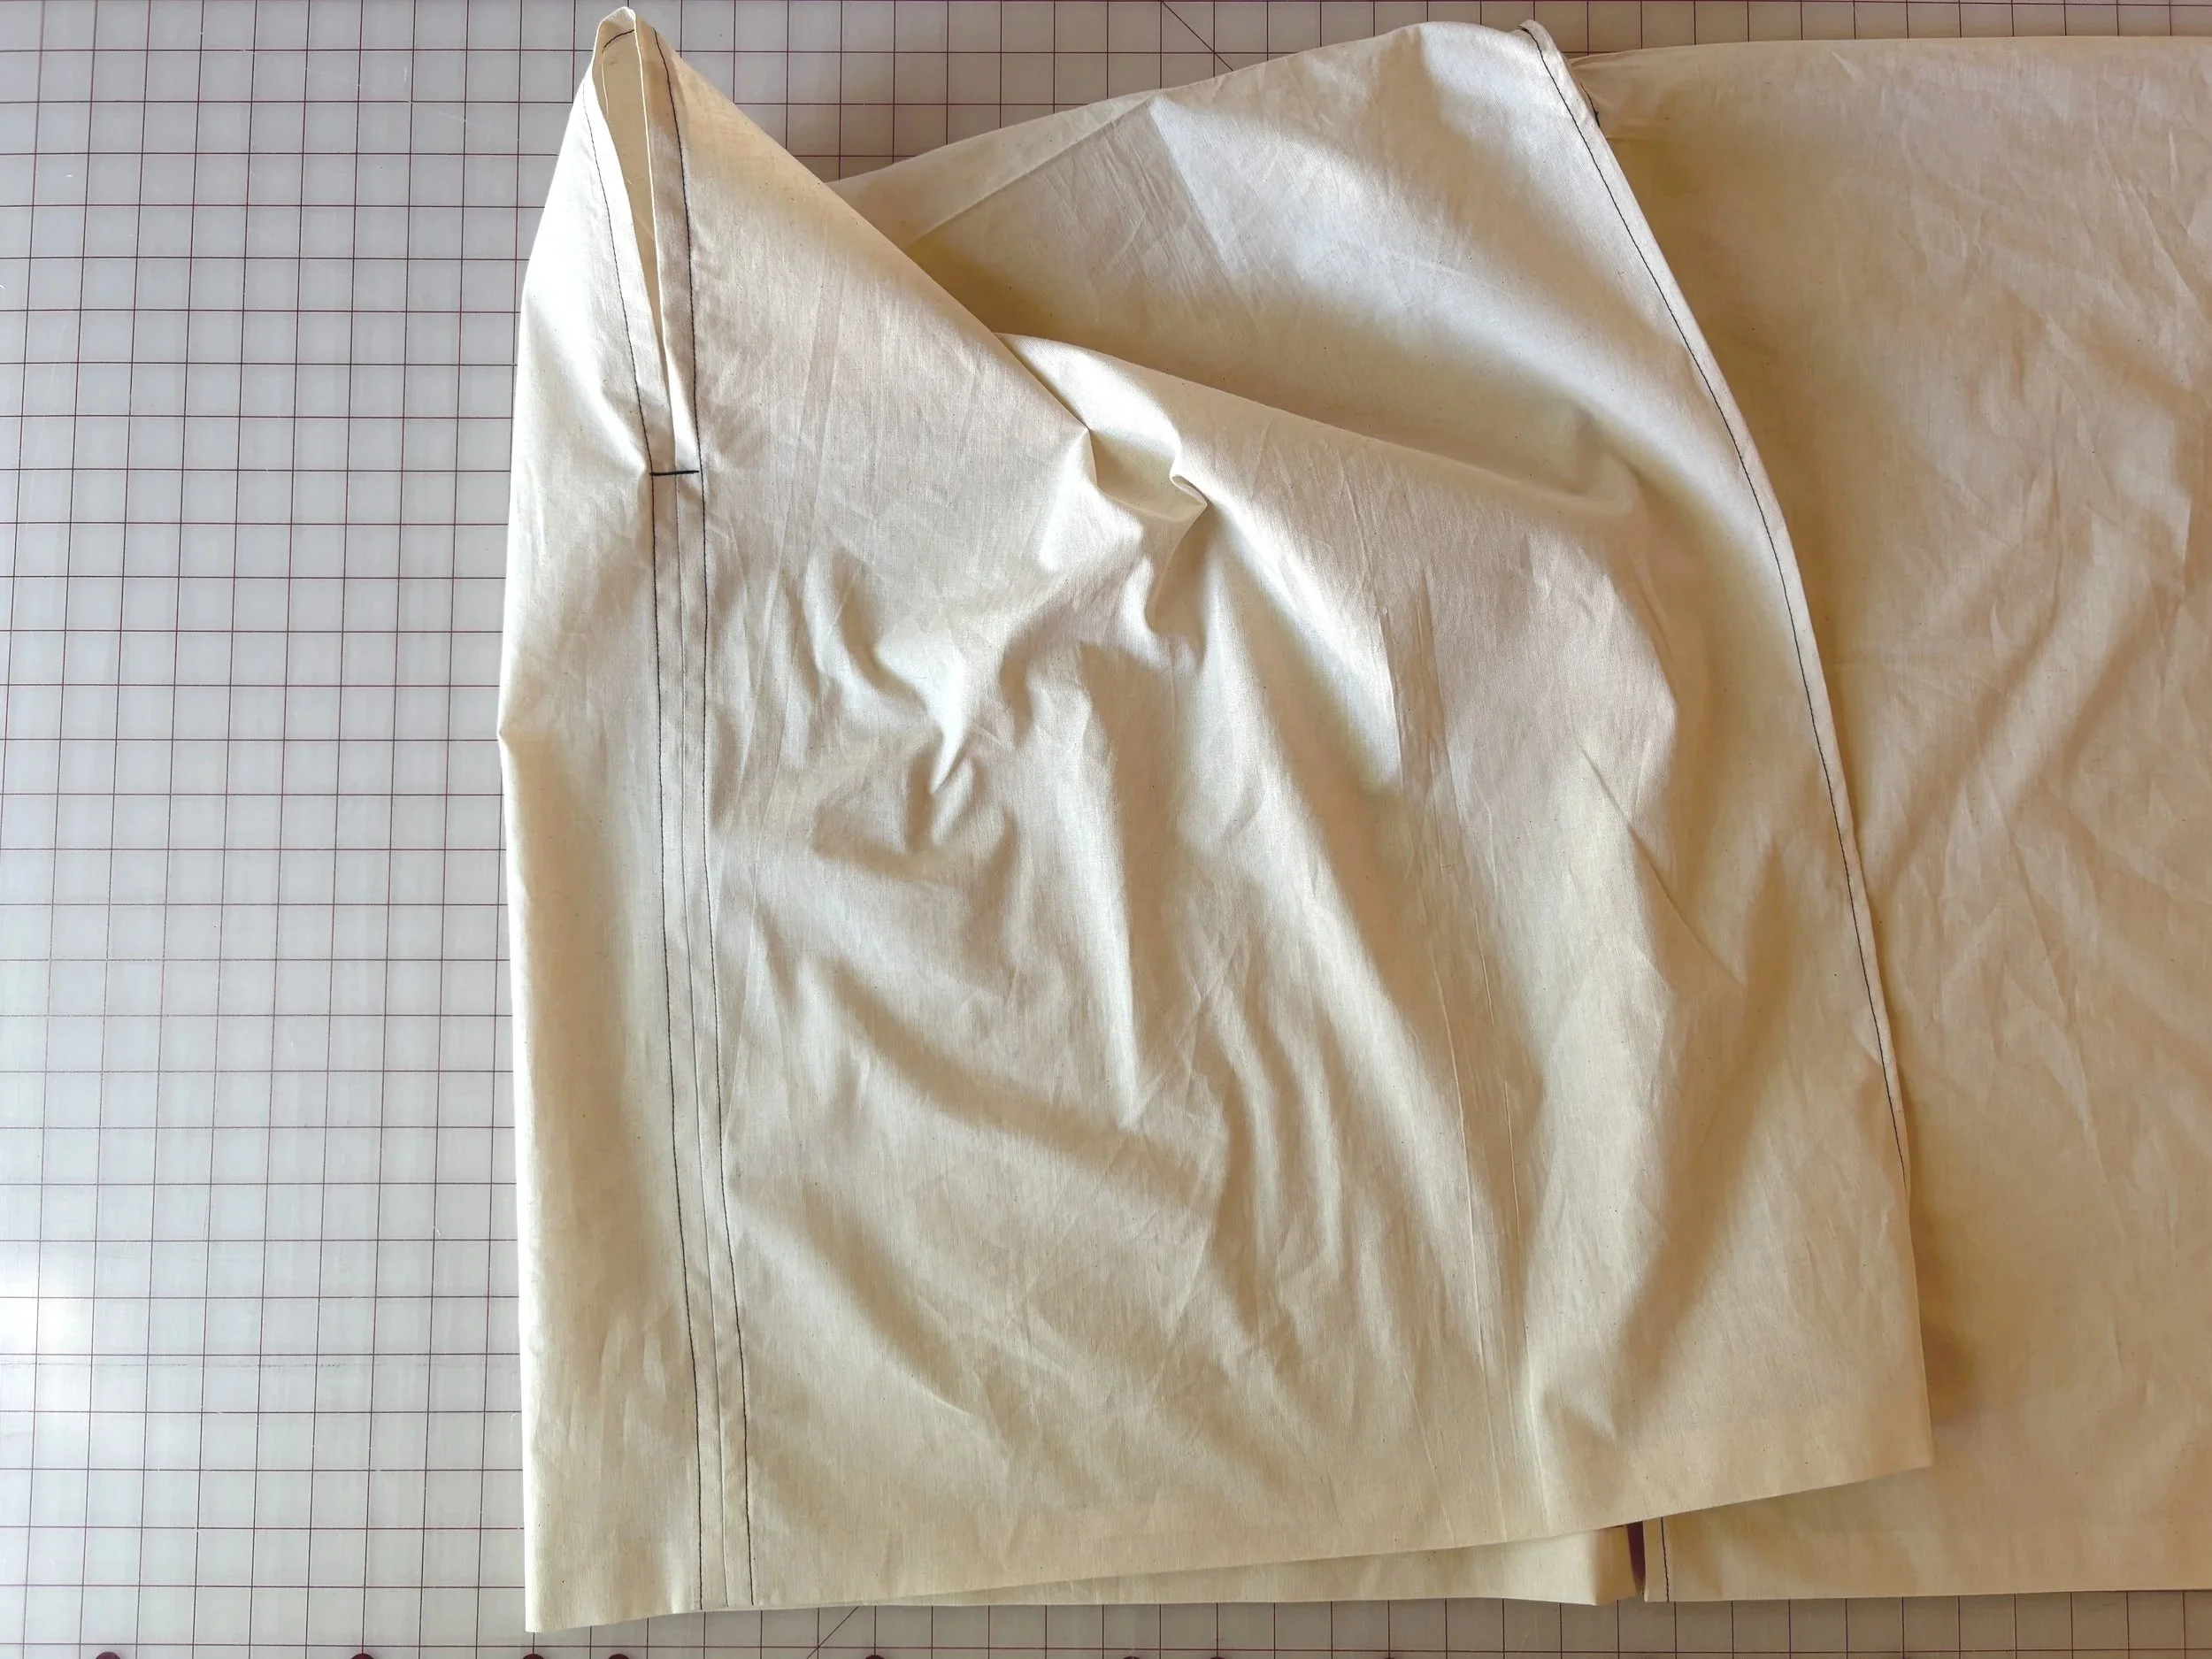
12. Fold and sew side seams and armhole.
If it's easier for you, press the folds into the side seams before sewing. In the video below, I’ll be folding the raw edges under and sewing at the same time.
Starting at the hem on one side, sew 1/8" (3 mm) from the folded edge along the side seam to secure the pressed-open seam allowance flat, enclosing the raw edge.
When you reach the armhole opening, fold the raw edge under and continue stitching 1/8" (3 mm) from the fold, rotating around the armhole.
Continue down the other side seam and end at the hem.
This is all one continuous line of stitching, enclosing the raw edges along the way.
13. Reinforce underarm.
Sew 3-4 stitches below the underarm at the side seam to keep the seam from splitting.
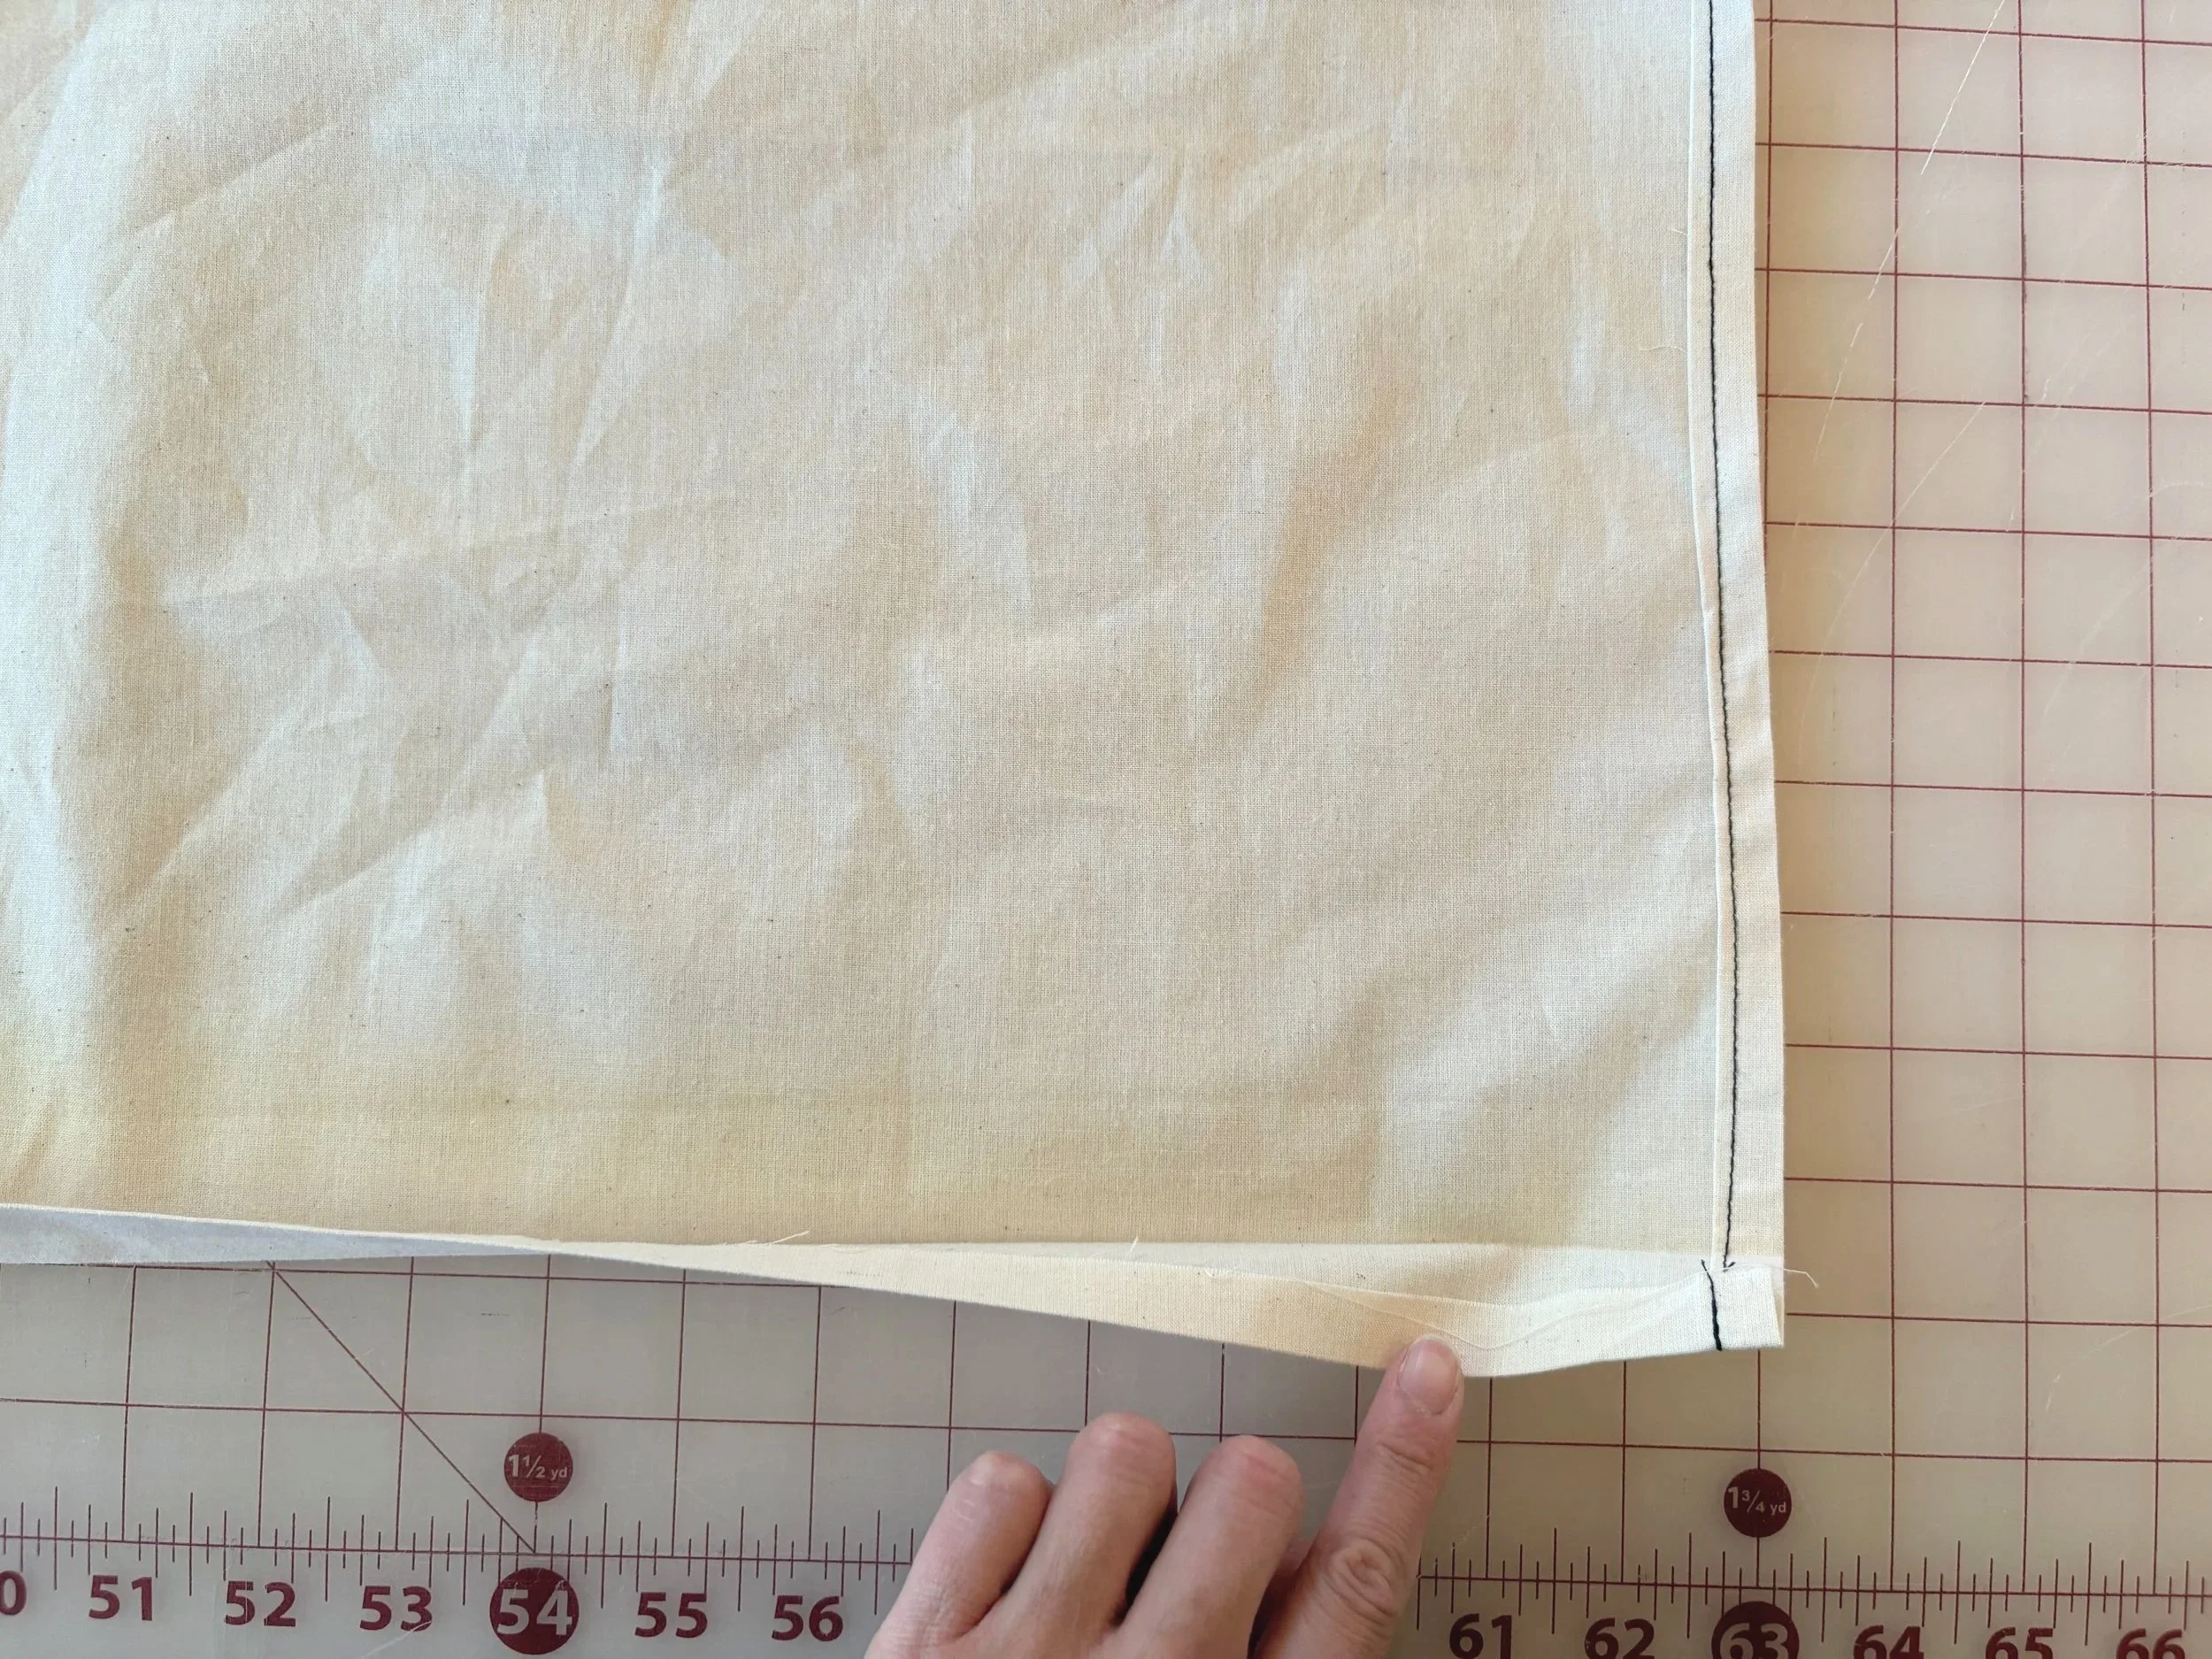
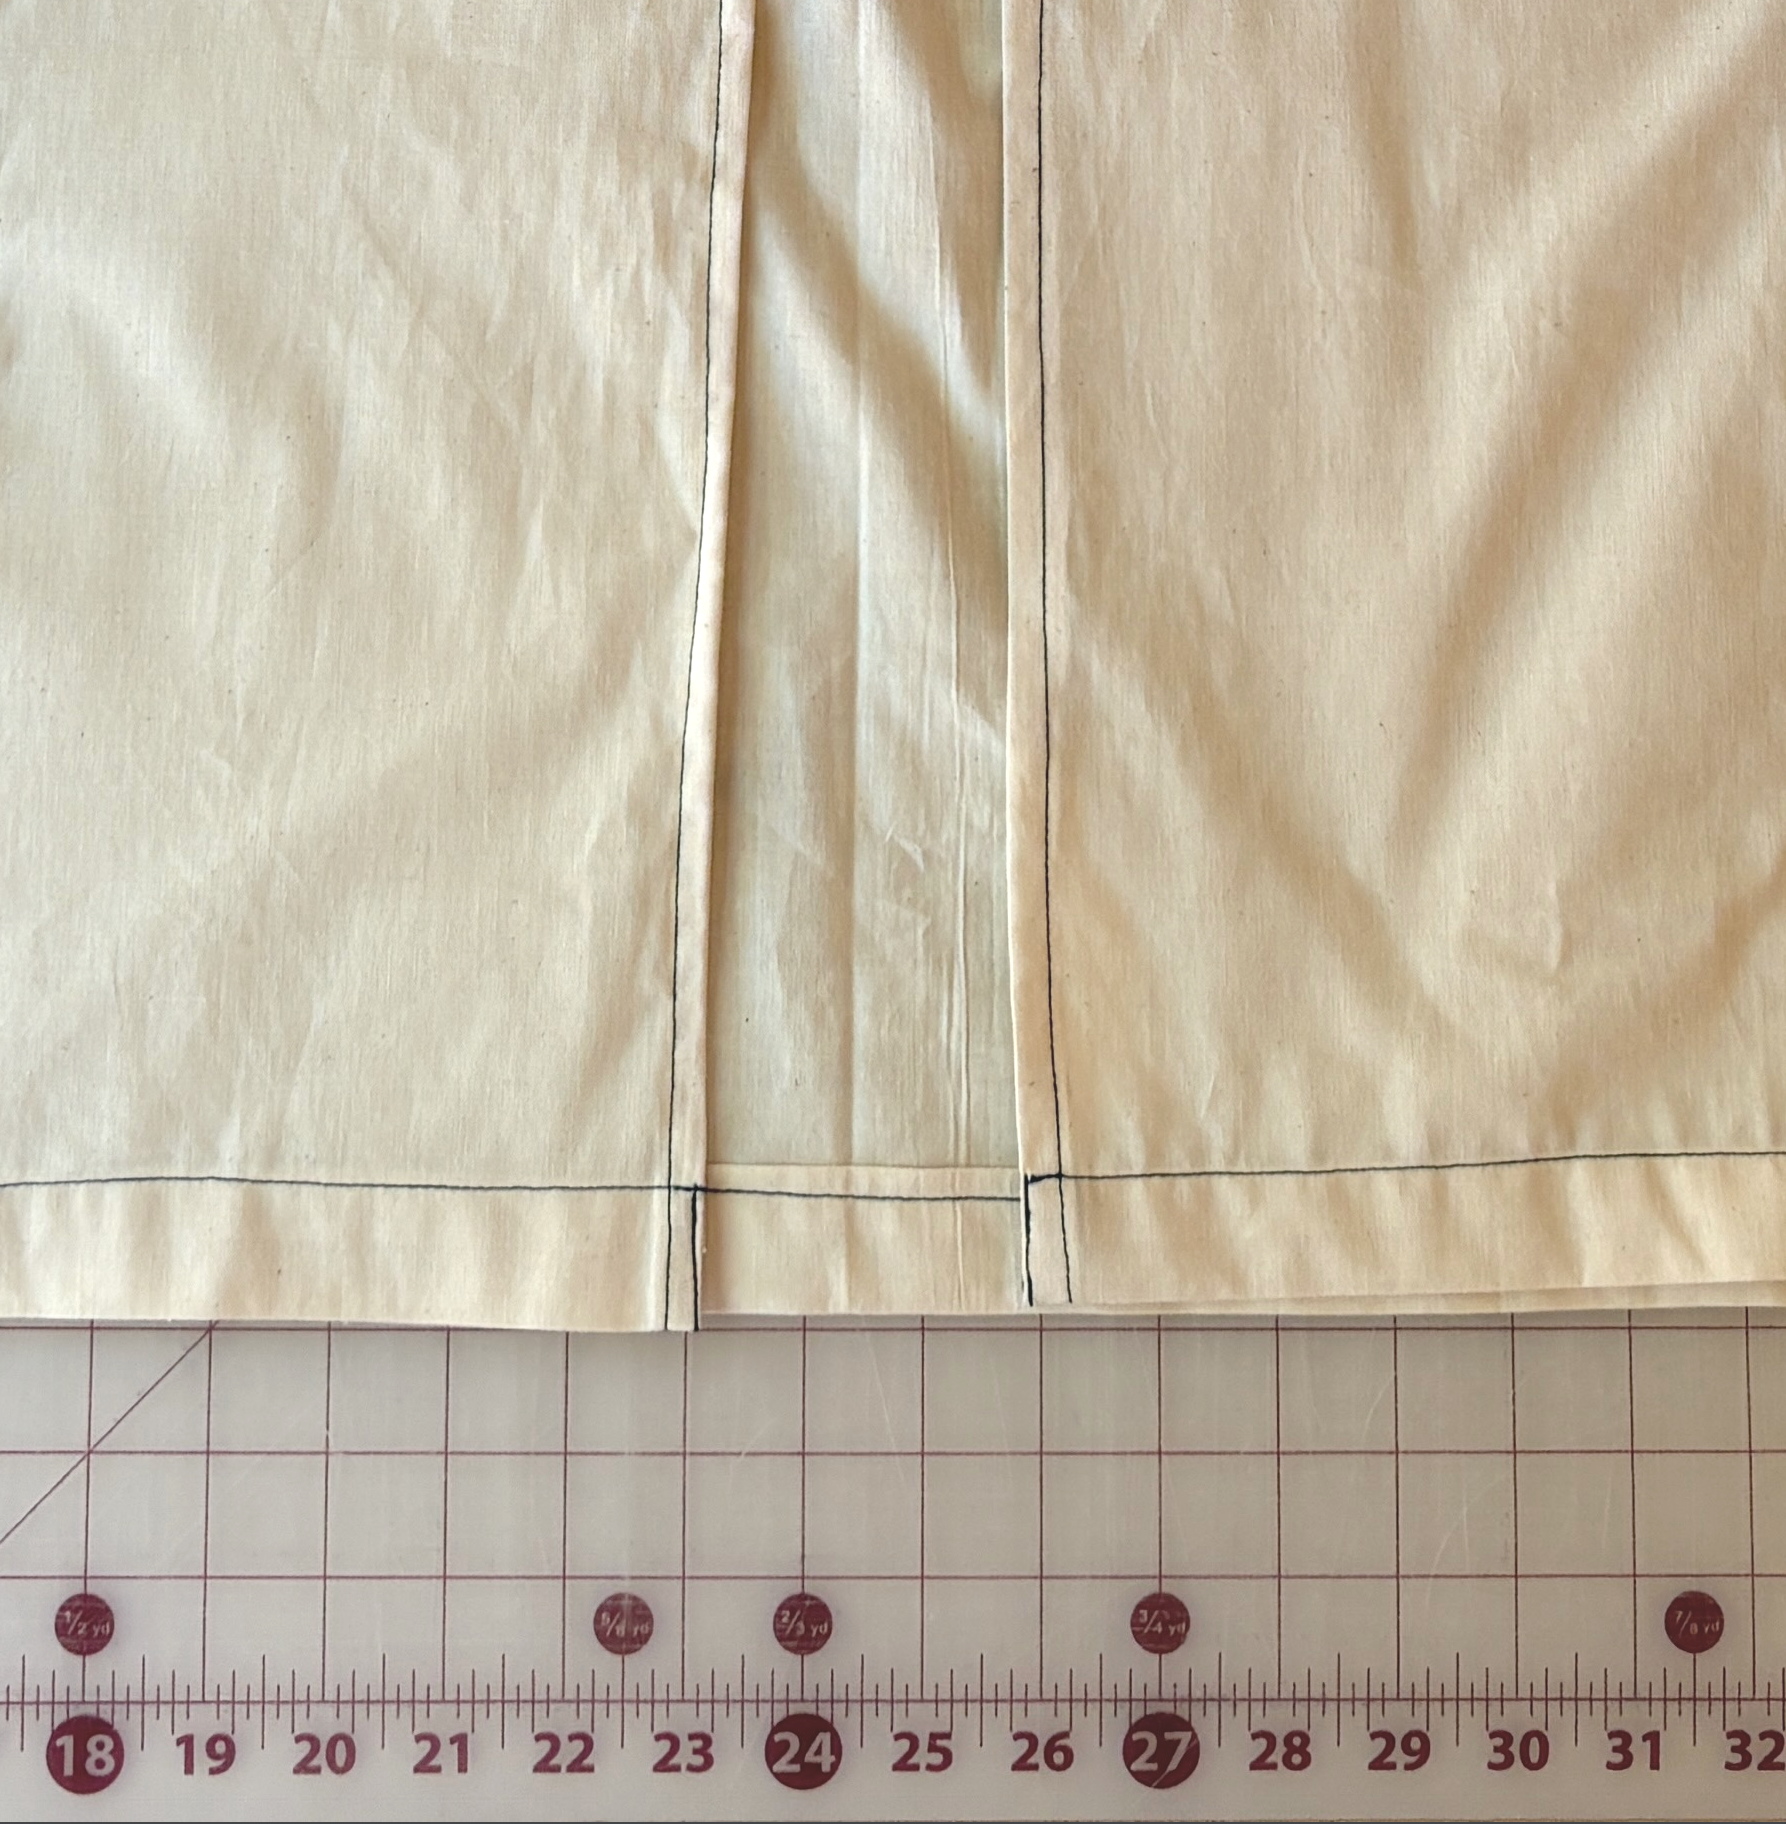
14. Finish the hem.
Working on the wrong side of the fabric, press a 1/2" (1.3 cm) fold, then a 1" (2.5 cm) fold onto the hem.
Sew 1/8” from the folded edge, about 7/8” from the hem edge.
15. Press and sew the pockets.
Pockets are optional. If adding pockets, work on the wrong side of the fabric:
Press 1/2" (1.3 cm) folds on the sides, then the top and bottom.
Fold under the top edge once more by 1” (2.5 cm) so the top pocket finish is wider, and press.
Sew the top of the pockets 1/8” from the folded edge and about 7/8" from the top edge of pocket.
16. Sew the pockets onto the wrap.
For the long wrap version, suggested pocket placement is 7” (17.8 cm) from center front edge, and 14 1/2” (36.8 cm) from the hem edge. Pin in place.
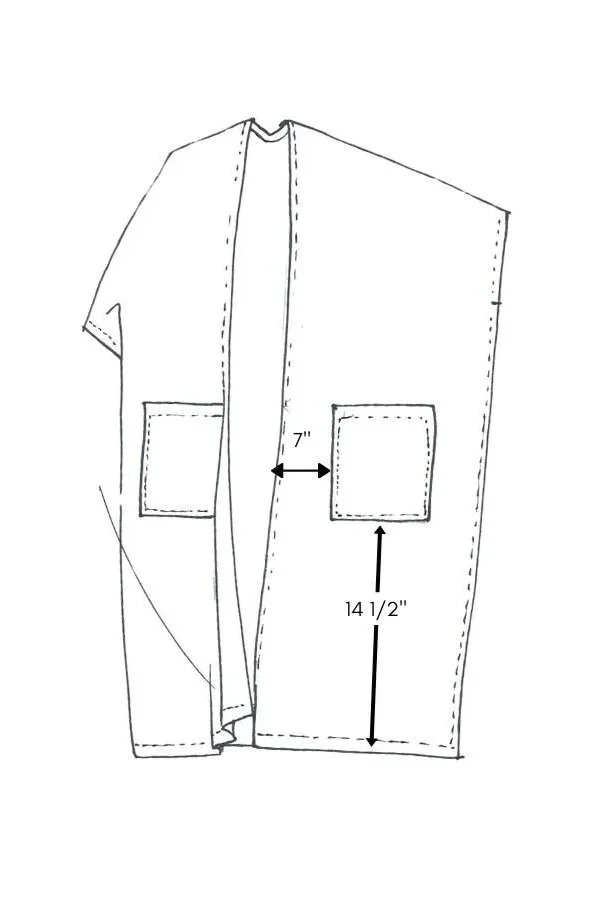
For the short wrap version, suggested pocket placement is 7” (17.8 cm) from center front edge, and 2” (5 cm) from hem edge. Pin in place.
For both lengths — To sew the pockets onto the wrap, first sew 1/8” (3 mm) from the pocket edge, and then 1/2” (1.2 cm) inwards from the initial stitch line to enclose the raw edges of the pockets.
When pivoting the corners, leave the needle down and rotate.
Back stitch at the beginning and end of your stitches: the left and right sides of the pocket top.